
Key insights
- Fix moisture first. Remediation will fail if the water source that caused the mold is not repaired before work begins. The EPA and IICRC S520 both require moisture correction as a prerequisite to remediation.
- Keep the HVAC off. Running forced air during active remediation spreads mold spores from the containment zone to clean areas of the home. Shut it off before work starts.
- Get clearance from a third party. Post-remediation clearance testing must be done by an independent inspector, not the company that did the remediation work, to avoid conflict of interest.
- Do not rebuild before clearance passes. Installing new drywall or paint before you have a passing clearance report can seal contamination inside walls and void your contractor's warranty.
- Document everything. Before-and-after photos, lab reports, and signed contractor documentation protect you for insurance claims and future property disclosures.
- Humidity is the long-term control. Indoor relative humidity kept between 30% and 50% is the primary tool for preventing mold from returning after remediation is complete.
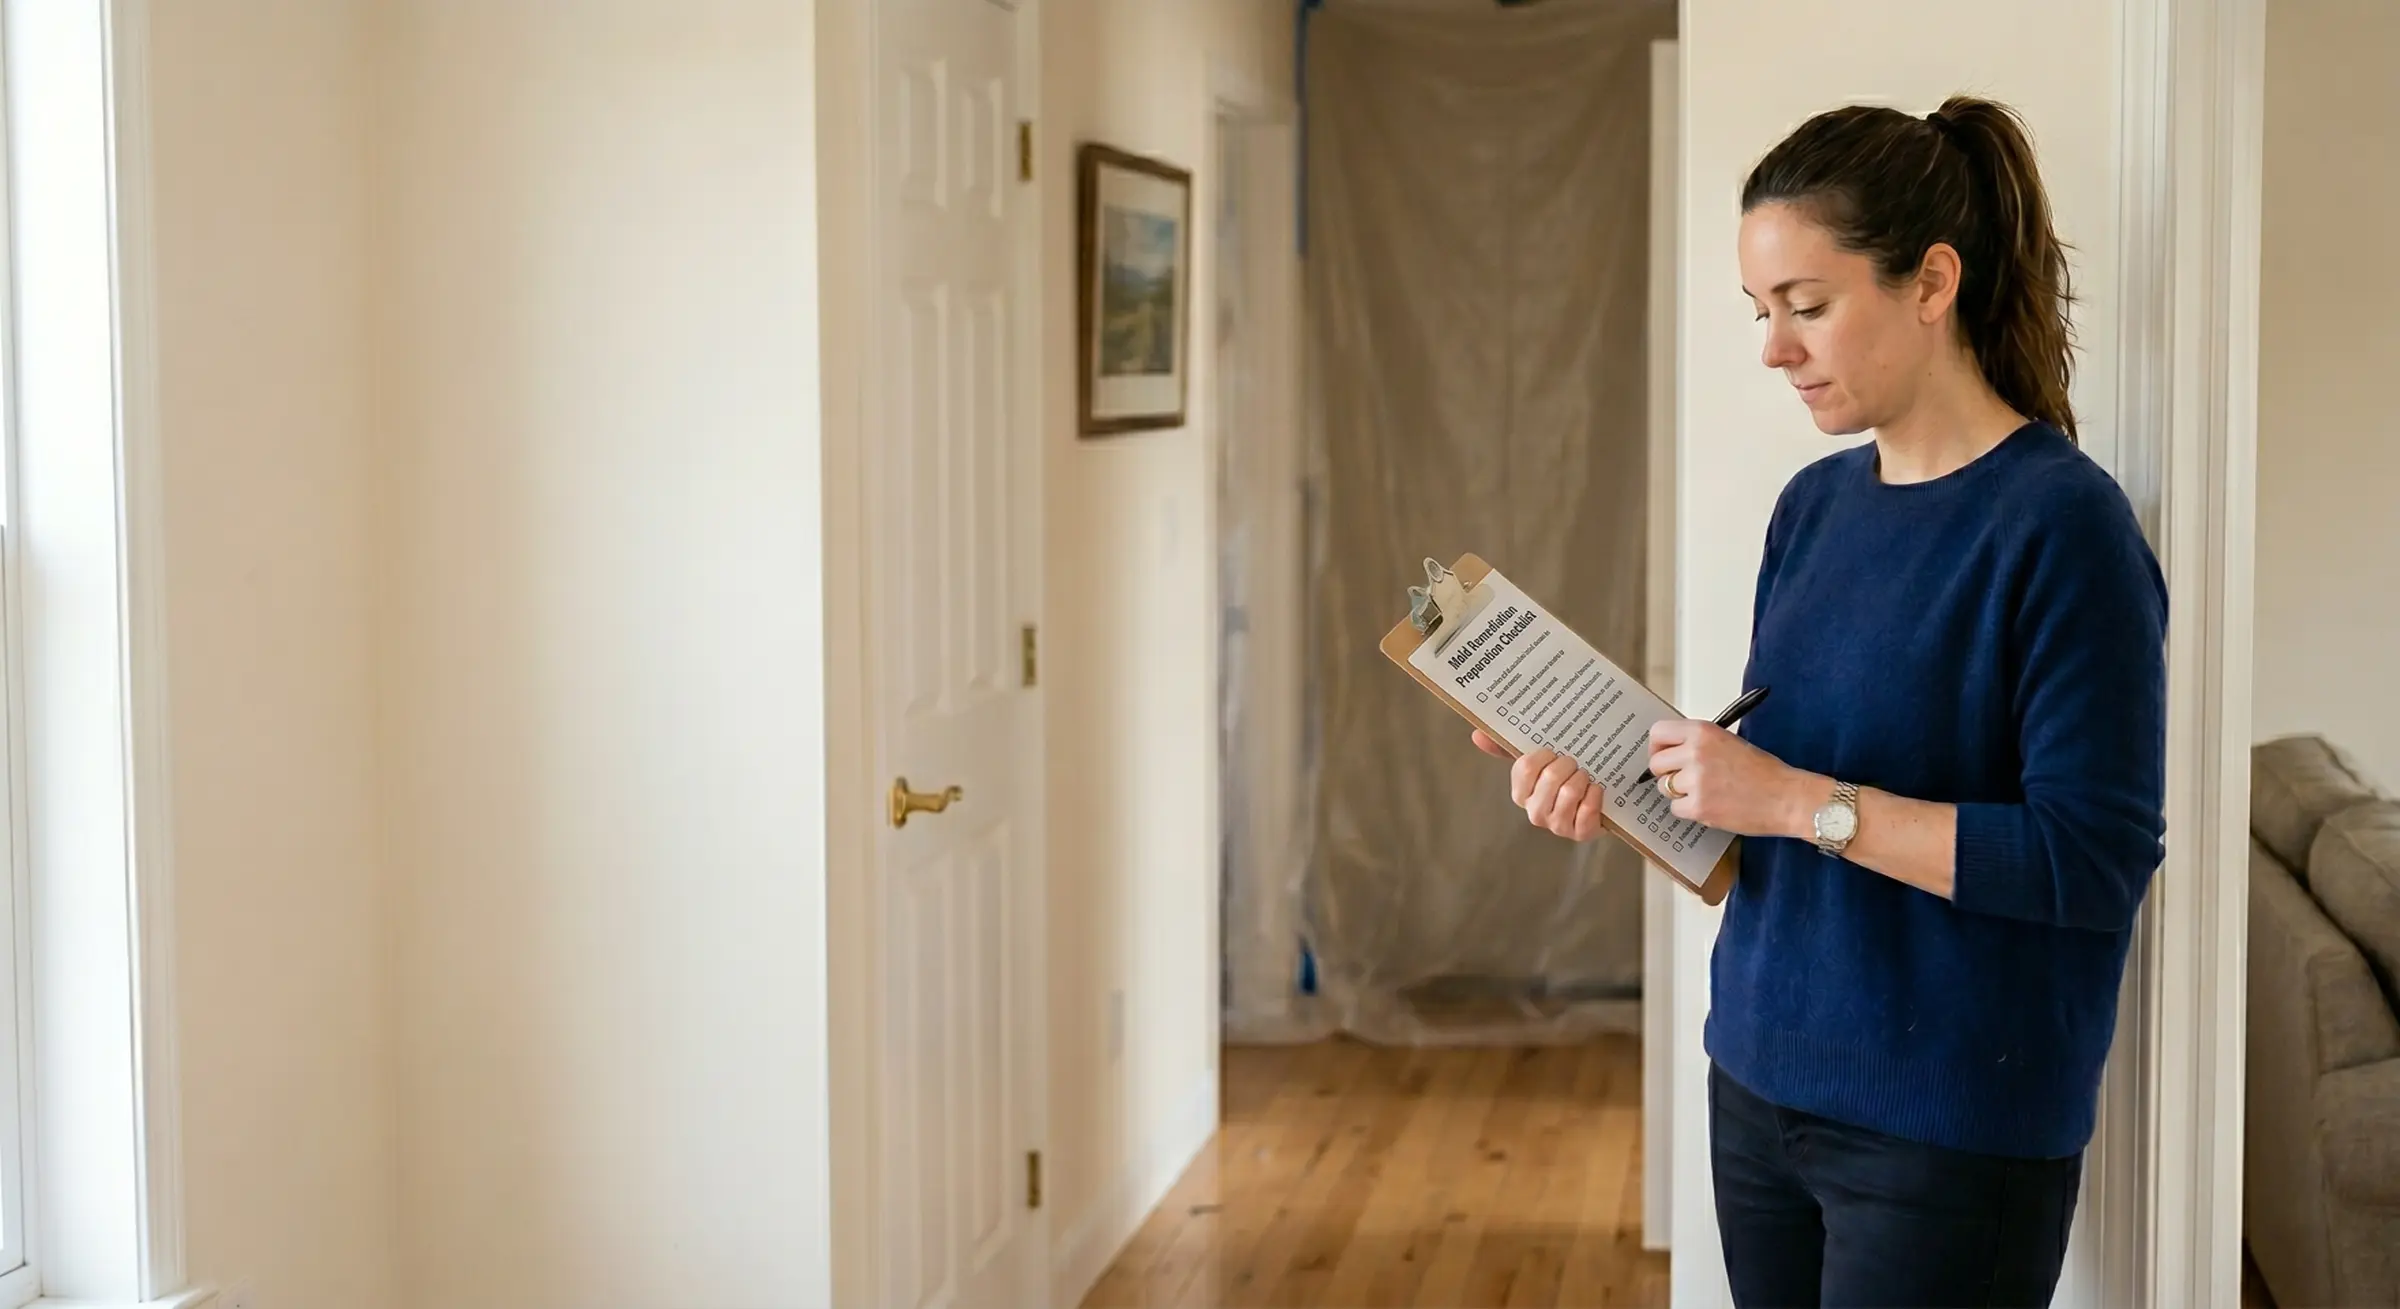
A mold remediation checklist is a phase-by-phase action list that guides homeowners through every task required before, during, and after professional mold removal, following the IICRC S520 Standard for Professional Mold Remediation and EPA moisture-correction guidelines. It covers moisture source repair, home preparation, contractor verification, active-work monitoring, post-remediation clearance testing, and the documentation steps required for insurance and future property disclosure.
You have a mold problem, you have hired a contractor, and the job is about to begin. The question most homeowners have at this point is not whether the work will get done but whether they will do their part correctly. Missing a step before the crew arrives can delay the job. Missing a step afterward can leave you without documentation when you need it most.
Professional mold remediation follows a defined sequence under IICRC S520, and the homeowner's actions at each phase affect whether that sequence succeeds. This checklist covers every action you need to take across all three phases: before crews arrive, during active remediation, and after the job is complete.
Before remediation starts
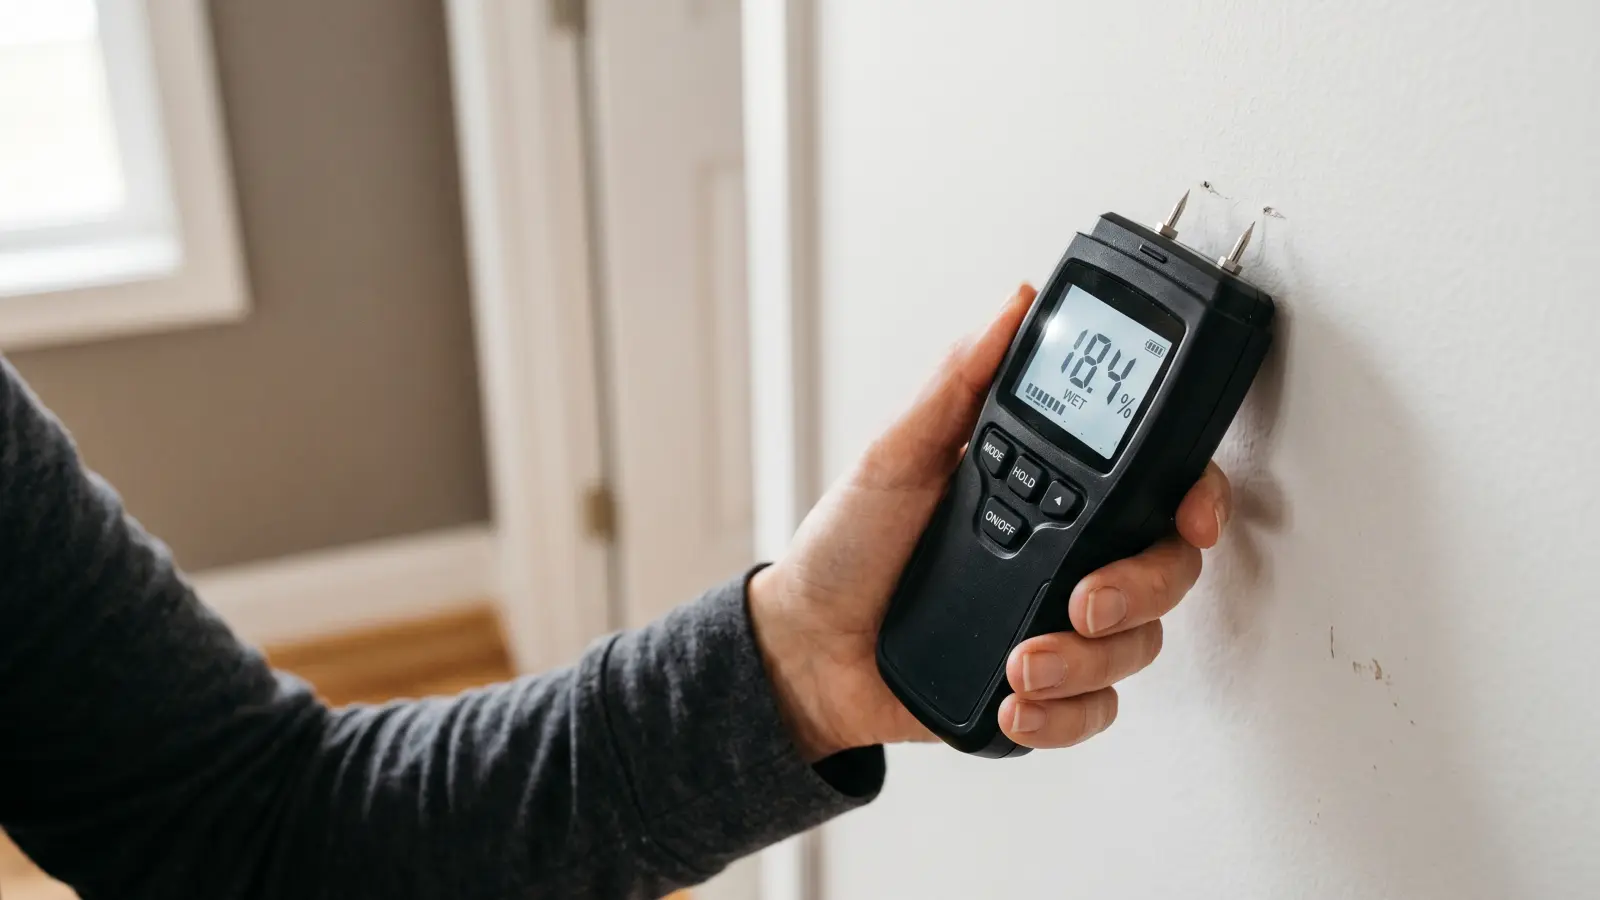
Before mold remediation begins, two conditions must be met: the moisture source causing the mold must be repaired, and a written scope of work must be signed by both parties. The IICRC S520 Standard for Professional Mold Remediation explicitly requires moisture correction as a prerequisite, and the EPA's mold guidance states that cleaning without fixing the source guarantees recurrence.
The work that happens before any contractor sets foot in your home determines whether the job succeeds and whether mold stays gone. Most remediation failures trace back to problems that existed before day one: the moisture source was not fixed, the scope was vague, or the home was not prepared for containment.
Moisture source checklist
Addressing the water source is not optional. The mold remediation process cannot succeed if moisture is still present. An IICRC-certified contractor will confirm the source is resolved before beginning, and reputable companies will not start work until it is.
Leaks and plumbing
- Plumbing leak repaired and verified dry by a plumber
- Roof leak or skylight leak sealed and interior sheathing dried
- Window or door flashing inspected and resealed if needed
- Appliance supply lines (dishwasher, washing machine, refrigerator) checked for slow drips
Condensation and humidity
- HVAC condensate line cleared and drip pan dry
- Bathroom exhaust fan venting confirmed to exterior (not into attic)
- Kitchen exhaust fan venting confirmed to exterior
- Crawl space vapor barrier in place and intact
- Basement wall cracks sealed or drainage system active
Flood and water damage
- Standing water fully extracted (if applicable)
- Building materials dried to normal moisture content before remediation begins
- Category 3 water contamination (sewage) addressed by a water mitigation company before mold crews start
For mold that followed a flood or major leak, mold after water damage covers the full response timeline and what to address in what order.
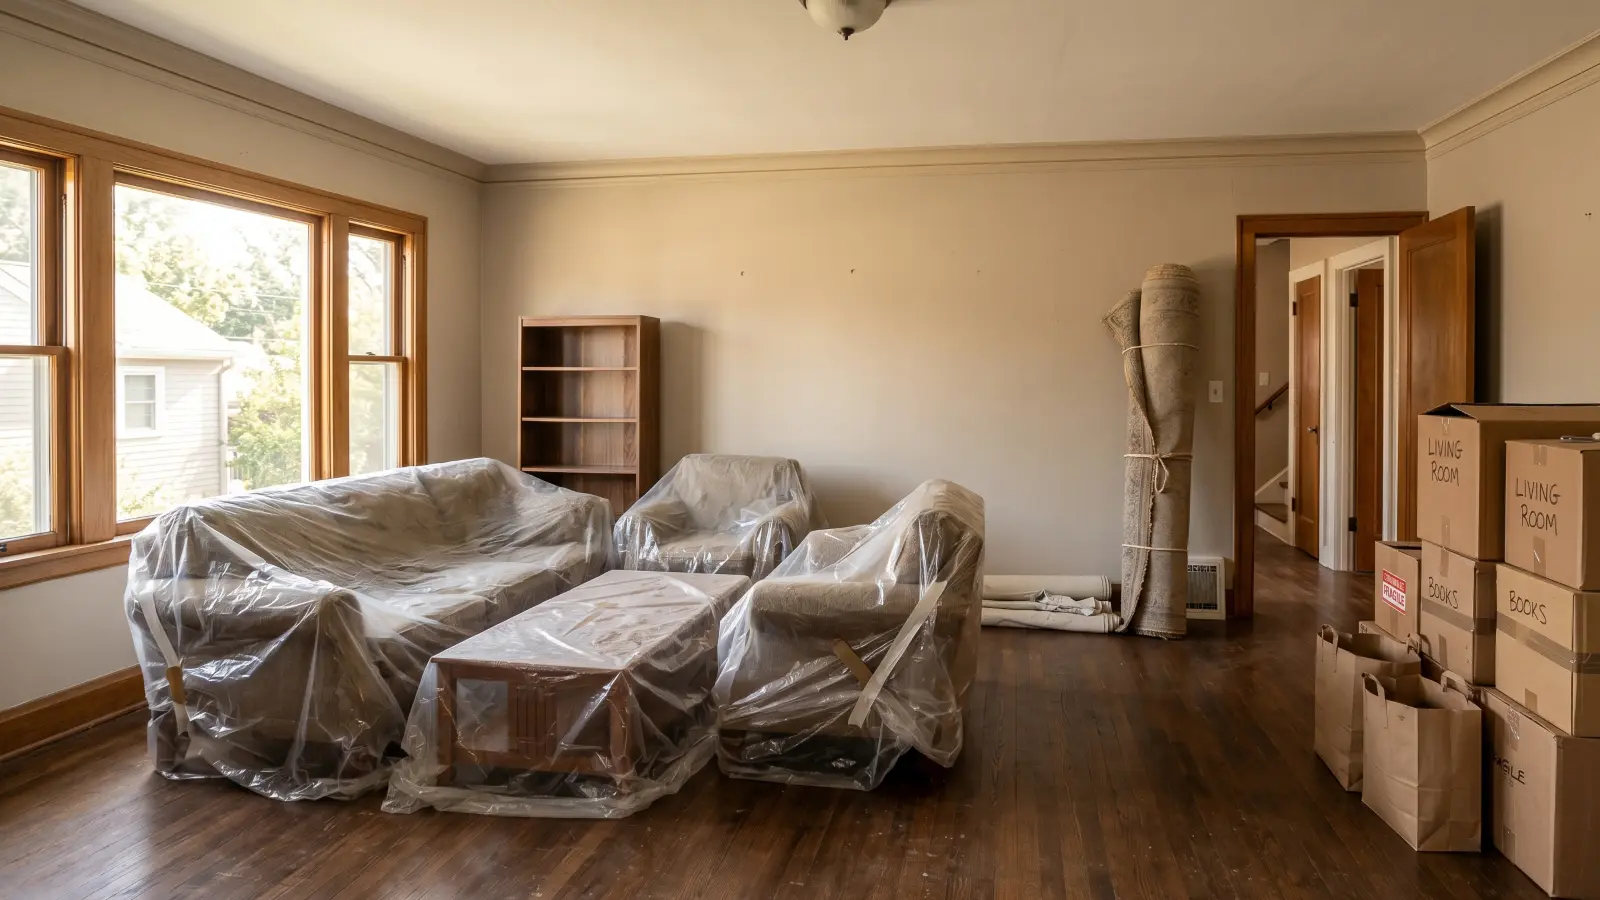
Home preparation checklist
These steps protect your belongings, give the crew unobstructed access, and reduce the risk of cross-contamination spreading mold spores to clean parts of your home.
The work area
- Furniture removed from the affected room or pushed to the center and covered in plastic
- Rugs, textiles, and upholstered items removed from the room
- Porous items (cardboard boxes, paper files, fabric) stored away from the work zone or discarded if contaminated
- Non-porous items (hard plastic, metal, glass) cleaned and moved out of the crew's path
- Items of sentimental or high monetary value moved off-site during work
People and pets
- Household members with asthma, allergies, respiratory conditions, or compromised immune systems arranged to stay elsewhere during active work
- Children kept away from the work area throughout the project
- Pets relocated for the duration of active remediation
- Indoor plants moved away from the work zone (potting soil can harbor mold)
- Fish tanks covered or moved (air scrubbers and negative air machines alter room air pressure)
Utilities and systems
- HVAC system shut off at the thermostat
- HVAC vents in the work zone sealed with plastic (the crew will do this, but confirm it is done on day one)
- Portable air purifiers in non-affected rooms turned off during active work
- Access to the electrical panel and any shutoffs communicated to the crew
Documentation before work begins
- Photographs taken of all visible mold, water staining, and damaged materials
- Video walkthrough recorded of the affected area
- Photos stored in a dated folder on your phone or computer
- Insurance claim opened if applicable, adjuster notified before work starts
Contractor confirmation checklist
You should have everything in writing before authorizing work to begin. Knowing what credentials and documentation to look for before signing is covered in how to choose a mold remediation company.
- Written scope of work reviewed, signed, and in your possession
- Scope specifies the affected area in square footage, materials to be removed, and containment method
- Contractor's IICRC AMRT (Applied Microbial Remediation Technician) certification verified at iicrc.org
- Contractor holds general liability insurance of at least $1,000,000 and workers' compensation
- Contractor holds pollution liability insurance (essential for mold jobs)
- Inspection and remediation are being performed by separate companies (avoid conflict of interest)
- Payment schedule reviewed: reputable companies do not require full payment upfront
- Warranty terms understood in writing
- Clearance testing plan discussed and a third-party inspector identified
Every question worth asking before signing, with what a credible answer looks like, is in questions to ask a mold remediation company.
During remediation
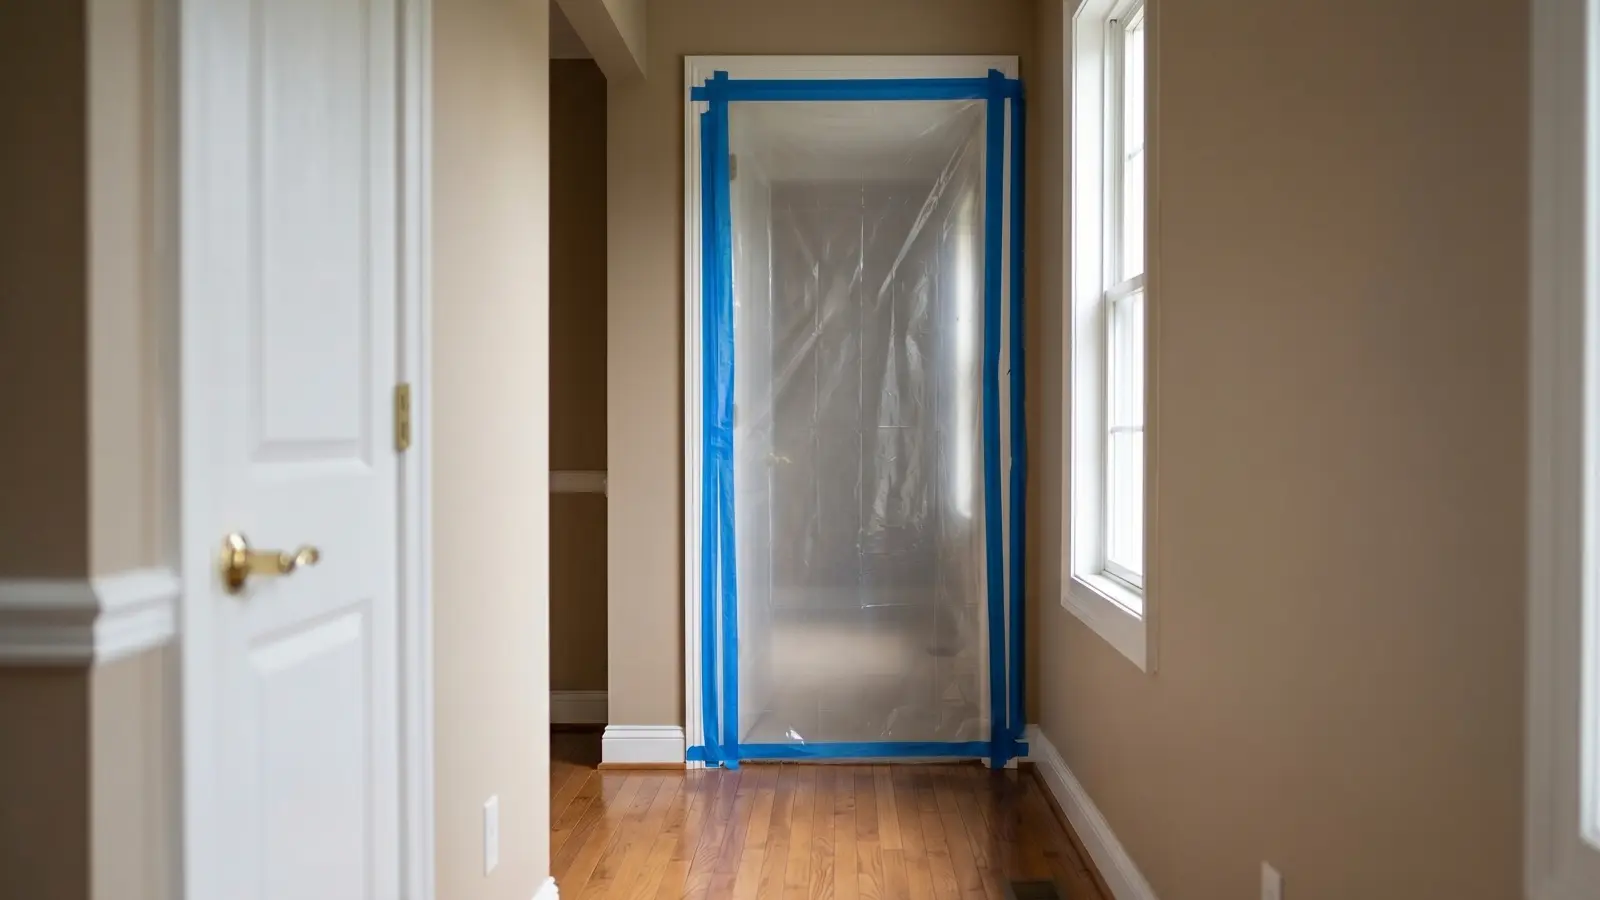
During active mold remediation, the crew should maintain negative air pressure containment using 6-mil polyethylene sheeting, run HEPA air scrubbers continuously inside the work zone, and bag all removed materials in sealed 6-mil poly before carrying them through the home. These protocols follow IICRC S520 and OSHA SHIB 03-10-10 guidelines for mold work zones.
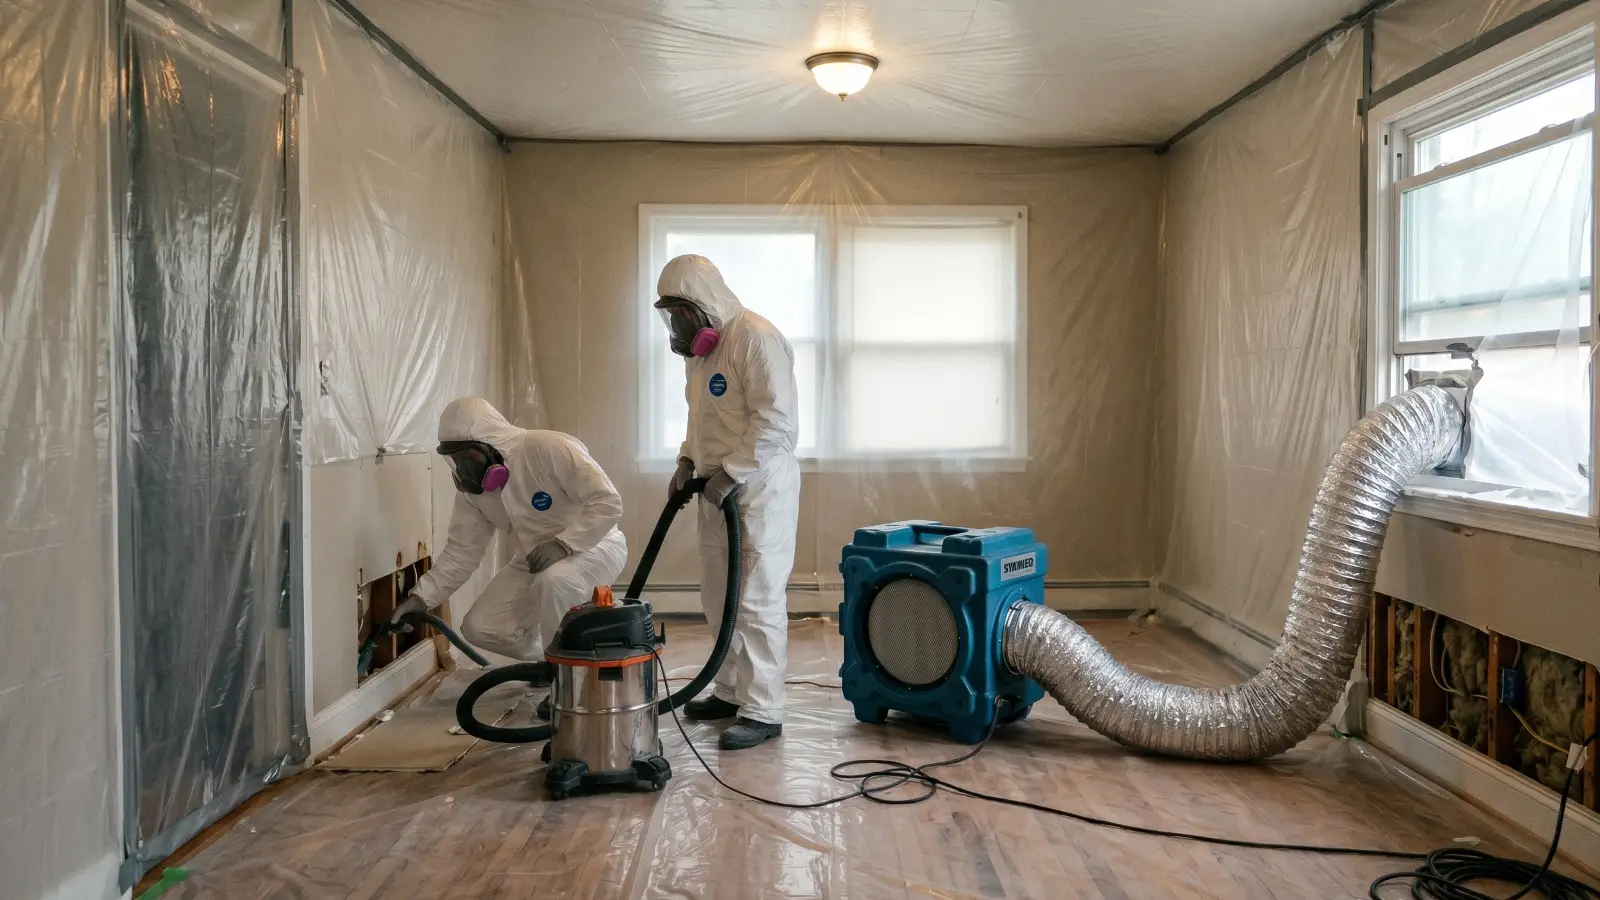
Your role during active remediation is primarily to stay out of the work zone and to monitor what you can observe from outside the containment. You are not expected to supervise the crew, but you are entitled to ask questions and to recognize when something looks wrong.
What to watch for
During active remediation, you are watching for signs that containment is intact and that spores are not escaping the work zone. Knowing what a proper setup looks like lets you spot problems early.
Containment and negative air pressure
- Plastic sheeting fully covers the entrance to the work zone (typically a zipper door or overlapping flaps)
- Containment remains taped and sealed at walls, floors, and ceiling throughout the job
- A negative air machine or HEPA air scrubber is audibly running inside the containment (negative pressure keeps spores from escaping when the zipper is opened)
- Air scrubbers are exhausting through a window or exterior vent, not back into the home
- No visible mold dust or debris in areas outside the contained zone
Crew practices
- Crew members are wearing N95 respirators or higher (full-face PAPR for large or heavily contaminated jobs)
- Crew wearing disposable Tyvek coveralls or dedicated work clothing
- Gloves and eye protection in use during all removal and cleaning activities
- Removed materials are being double-bagged in sealed 6-mil polyethylene before being carried through the home
- Crew is not using fans to dry moldy areas before removal (fans spread spores)
- No bleach being applied to porous surfaces like drywall or wood framing (bleach does not penetrate porous materials and can leave moisture behind)
Communication during the job
- Crew leader available to answer questions during the project
- Any scope changes or newly discovered mold documented in writing before additional work begins
- Timeline confirmed or updated if access revealed more contamination than expected
- HVAC remains off until the crew explicitly clears it for restart
If during the job you observe containment failures, debris escaping the work zone, or crew members not wearing PPE, it is appropriate to stop the work and address it immediately. You are the homeowner. Document what you observe with photos and raise it with the crew leader on the spot.
A note on scope changes: hidden mold is common. When crews open walls or remove drywall, they occasionally find contamination that was not visible in the initial inspection. Any additional work should be added to your scope of work in writing, with a revised cost estimate, before it begins.
After remediation is complete
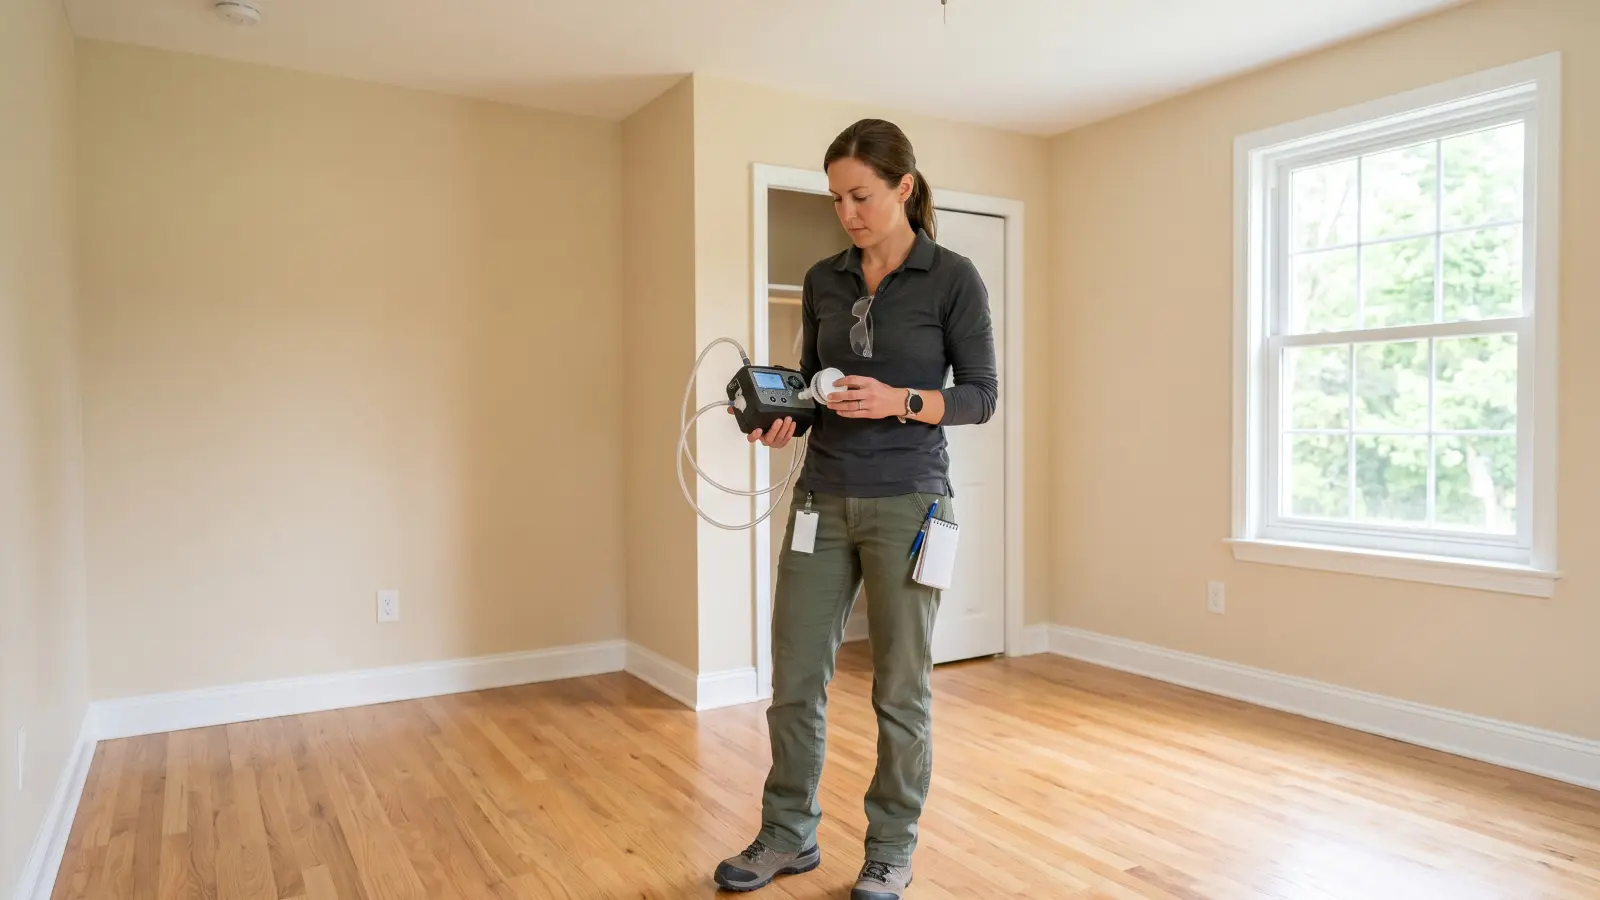
After mold remediation ends, the required next step is post-remediation verification (PRV), a clearance inspection conducted by an independent third-party inspector while containment is still in place and before any reconstruction begins. Per the IICRC S520 standard, clearance requires a visual inspection confirming no visible mold or water-damaged materials remain, followed by air sampling compared against outdoor baseline readings, with results confirming the site has returned to Condition 1 (normal fungal ecology).
When the crew packs up and containment comes down, two critical tasks remain before the job is truly done: clearance testing and a set of protective steps that guard against recurrence.
Clearance testing checklist
Post-remediation clearance testing, also called a verification survey or post-remediation verification (PRV), confirms that the work was successful. Per the IICRC S520, it should be performed while containment is still in place, by an inspector who did not perform the remediation, and before any reconstruction begins.
Timing and setup
- At least 24 hours have passed since crew finished (48 hours is preferred)
- Windows and doors kept closed during the waiting period to allow air to stabilize
- Containment has not been disturbed or removed
- No vacuuming, fogging, or air fresheners used in the affected area before testing
- HVAC has remained off and air scrubbers off for at least 30 minutes before sampling (unless the inspector instructs otherwise)
The inspection
- Independent third-party inspector (not your remediation company) scheduled
- Inspector will conduct a visual examination first: no visible mold, no water-damaged materials remaining, all surfaces visibly clean
- Air sampling conducted inside the work zone and in at least one area outside it as a control
- Surface sampling (tape lift or swab) taken if any surfaces look questionable
- Samples sent to an accredited laboratory
After results arrive
- Written clearance report received with lab results attached
- Report confirms the site has returned to normal fungal ecology (Condition 1 per IICRC S520)
- Clearance report specifies that the source of moisture was corrected
- Containment authorized for removal only after a passing clearance report is in hand
- If clearance fails: remediation company notified, re-clean scheduled, follow-up test arranged before reconstruction proceeds
What clearance testing involves and how to read the lab results is explained in mold testing.
Post-clearance checklist
Once you have a passing clearance report, the job is certified complete. These steps protect your documentation and your home going forward.
Documentation to collect
- Signed scope of work (original)
- Before-and-after photographs from the contractor
- Materials removal log (what was removed, quantities, disposal method)
- Clearance test lab report and inspector's written sign-off
- Contractor's warranty or guarantee, in writing, with terms and duration
- Any permits pulled for structural work during the project
Store these documents in both a physical folder and a cloud backup. They are required for insurance claim closure, and they are material facts in a future home sale.
Reconstruction
- Reconstruction and drywall installation authorized only after clearance passes
- Any new materials going into the repaired area are dry and not stored in a humid environment before installation
- Vapor barrier replaced if it was removed during remediation
- Insulation replaced with new, uncontaminated material
Insurance
- Insurance adjuster provided with clearance report and contractor invoice
- Claim formally closed in writing
- Policy reviewed for any exclusions or riders added as a result of the claim
Contractor follow-up
- Warranty start date confirmed
- Warranty contact information saved
- Any follow-up inspection included in the warranty scheduled
Ongoing prevention checklist
Mold does not return because of the remediation; it returns because of moisture. The steps below keep conditions unfavorable for growth on an ongoing basis.
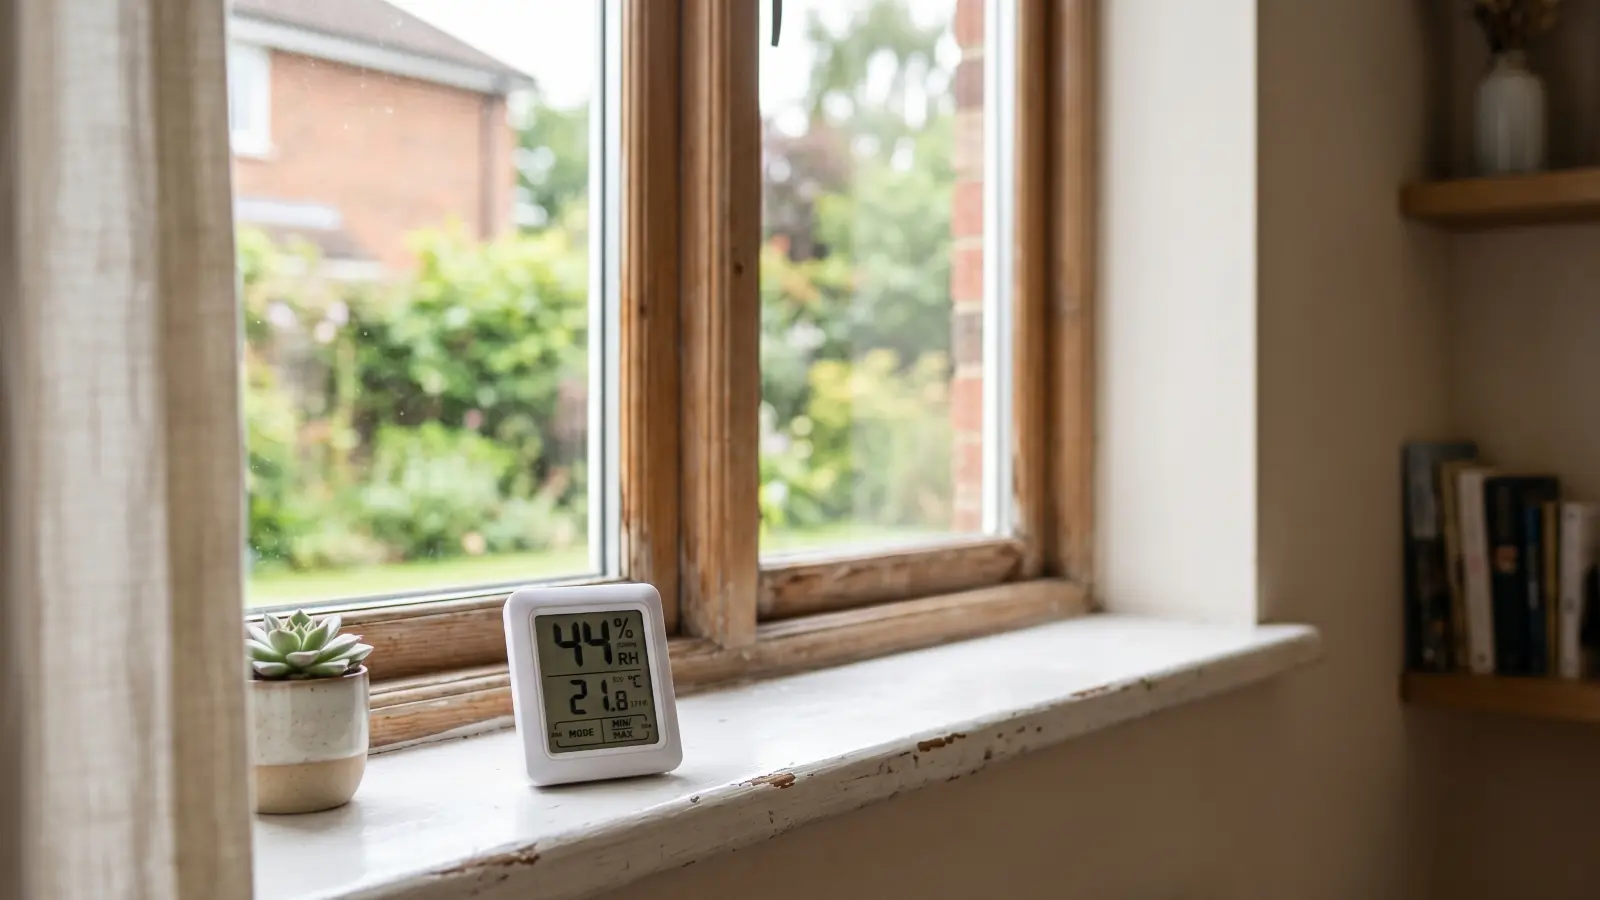
Humidity control
- Digital hygrometer purchased and placed in the previously affected area ($15-$30 at most hardware stores)
- Indoor relative humidity maintained between 30% and 50% year-round (the EPA ceiling is 60%)
- Dehumidifier running in basement or crawl space during humid months if needed
- HVAC filter replaced after remediation is complete and system is restarted
Ventilation
- Bathroom exhaust fan confirmed running during and 15 minutes after every shower
- Kitchen exhaust fan used during cooking
- Dryer vent cleared and venting to exterior
- Crawl space vents unobstructed
Ongoing monitoring
- Moisture readings taken in the previously affected area monthly for the first 3 months
- Visual check of previously affected area every 30 days for the first 6 months
- Professional follow-up inspection scheduled at 3-6 months if recommended by the clearance inspector
- Any return of musty odor or visible discoloration addressed immediately, not monitored
Catching a recurrence early costs far less than letting it spread. What remediation runs at different scales is detailed in mold remediation cost.
What if mold comes back?
Recurrence almost always means the moisture source was not fully corrected. Before scheduling re-remediation, have an independent inspector determine whether the original repair held. If the water source is new (a different leak), that is a separate event. If it is the same source, you may have recourse under your contractor's warranty. Do not begin new remediation until you understand why the mold returned.
Frequently asked questions
The questions below cover permit requirements, clearance testing, insurance, scope sign-off, and what to do if the job goes wrong. Per IICRC S520, post-remediation verification and documentation are required before a job is considered complete.
Do I need to move out during mold remediation?
Not always. Small, well-contained jobs limited to one room may be manageable while you remain in the home, but medium to large jobs or any situation where a household member has asthma, allergies, or a compromised immune system generally require temporary displacement. If you are unsure, err on the side of leaving. The displacement decision framework based on job size and health profile covers when leaving is necessary versus when staying with proper precautions is acceptable.
When does mold remediation require a permit?
Permits are required when structural materials such as load-bearing walls, floor joists, or subfloor are removed or replaced. Surface-level mold removal on non-structural materials typically does not require a permit, but requirements vary by municipality. Ask your contractor before work begins and confirm in writing. Unpermitted structural work can create problems when you sell.
How do I know if the scope of work is complete before I sign off?
The scope is complete when no visible mold remains, no water-damaged material is left behind, and all surfaces in the work zone are visibly clean and dry. Walk the area with the crew leader before containment is removed to confirm all three conditions. Do not authorize containment removal until you are satisfied with the visual inspection. The clearance test will confirm what your eye cannot.
What is the difference between clearance testing and a standard mold inspection?
A standard mold inspection is conducted before remediation to identify the problem and develop a protocol. Clearance testing is conducted after remediation to confirm the job is complete and the environment has returned to normal. The two serve opposite purposes and should be performed by different companies.
Does homeowners insurance pay for clearance testing?
It depends on your policy. Many policies that cover mold remediation also cover post-remediation verification. Others do not. Review your policy before assuming it is included, and ask your adjuster explicitly before scheduling the test. Keep the receipt regardless.
How long does it take to get clearance test results?
Lab results from air and surface samples typically return in 24-72 hours after samples are collected, depending on the laboratory. Standard turnaround is usually 3-5 business days. Rush processing is available at most accredited labs for an additional fee.
What should I do if I am not satisfied with how the job was done?
Document your concerns with photos before anything is disturbed. Raise the issue in writing with the contractor, referencing the signed scope of work. If the contractor is IICRC-certified, the IICRC has a consumer complaint process. If the issue involves a serious violation, your state contractor licensing board is the appropriate authority. Do not make final payment until concerns are resolved.
Sam Hickerson is the founder of RestoreAdvisor and writes consumer guides on mold remediation, inspection, testing, and home recovery. His work focuses on helping homeowners understand costs, risks, and when to call a professional. He draws on guidance from the EPA, CDC, IICRC, and other authoritative sources to make complex home issues easier to navigate.