
Mold remediation is a significant investment. Residential mold remediation cost typically runs $1,500–$6,000 and can go higher depending on scope and location. Post-remediation verification (PRV) is the structured evaluation performed after all active remediation work is complete to confirm that a treated space has returned to normal fungal ecology, as defined by ANSI/IICRC S520. Without it, there is no objective way to know whether the work was done correctly, whether the air in your home is safe, or whether you have documentation that protects you if problems surface later.
Key insights
- PRV is not optional for serious jobs. Any remediation project that followed the IICRC S520 standard includes clearance testing as a required final step before containment is removed.
- Third-party independence is non-negotiable. The company that performed the remediation cannot perform its own clearance test. A direct financial conflict of interest makes that result meaningless.
- Visual inspection alone is not sufficient. Mold spores are microscopic. An area can appear clean and still have elevated airborne spore levels that only sampling can detect.
- Clearance testing costs $200–$600 for a standard residential project, paid separately to the independent assessor.
- A failed clearance is the contractor's problem, not yours. A properly written remediation contract requires the contractor to return and re-clean at no additional charge until clearance passes.
- Keep the clearance certificate permanently. It is required for insurance claims, contractor warranty enforcement, and property disclosure in mold-history transactions.
What post-remediation verification is
Post-remediation verification is an independent inspection and sampling process performed after all active mold remediation work is complete, confirming that the treated area has returned to normal fungal ecology before containment is removed and reconstruction begins. The governing standard is ANSI/IICRC S520, which defines three contamination conditions and requires that a remediated space reach Condition 1 (normal fungal ecology) before a project is considered closed. The EPA's mold cleanup guidance similarly identifies visual inspection and moisture control verification as the minimum completion criteria for any remediation project.
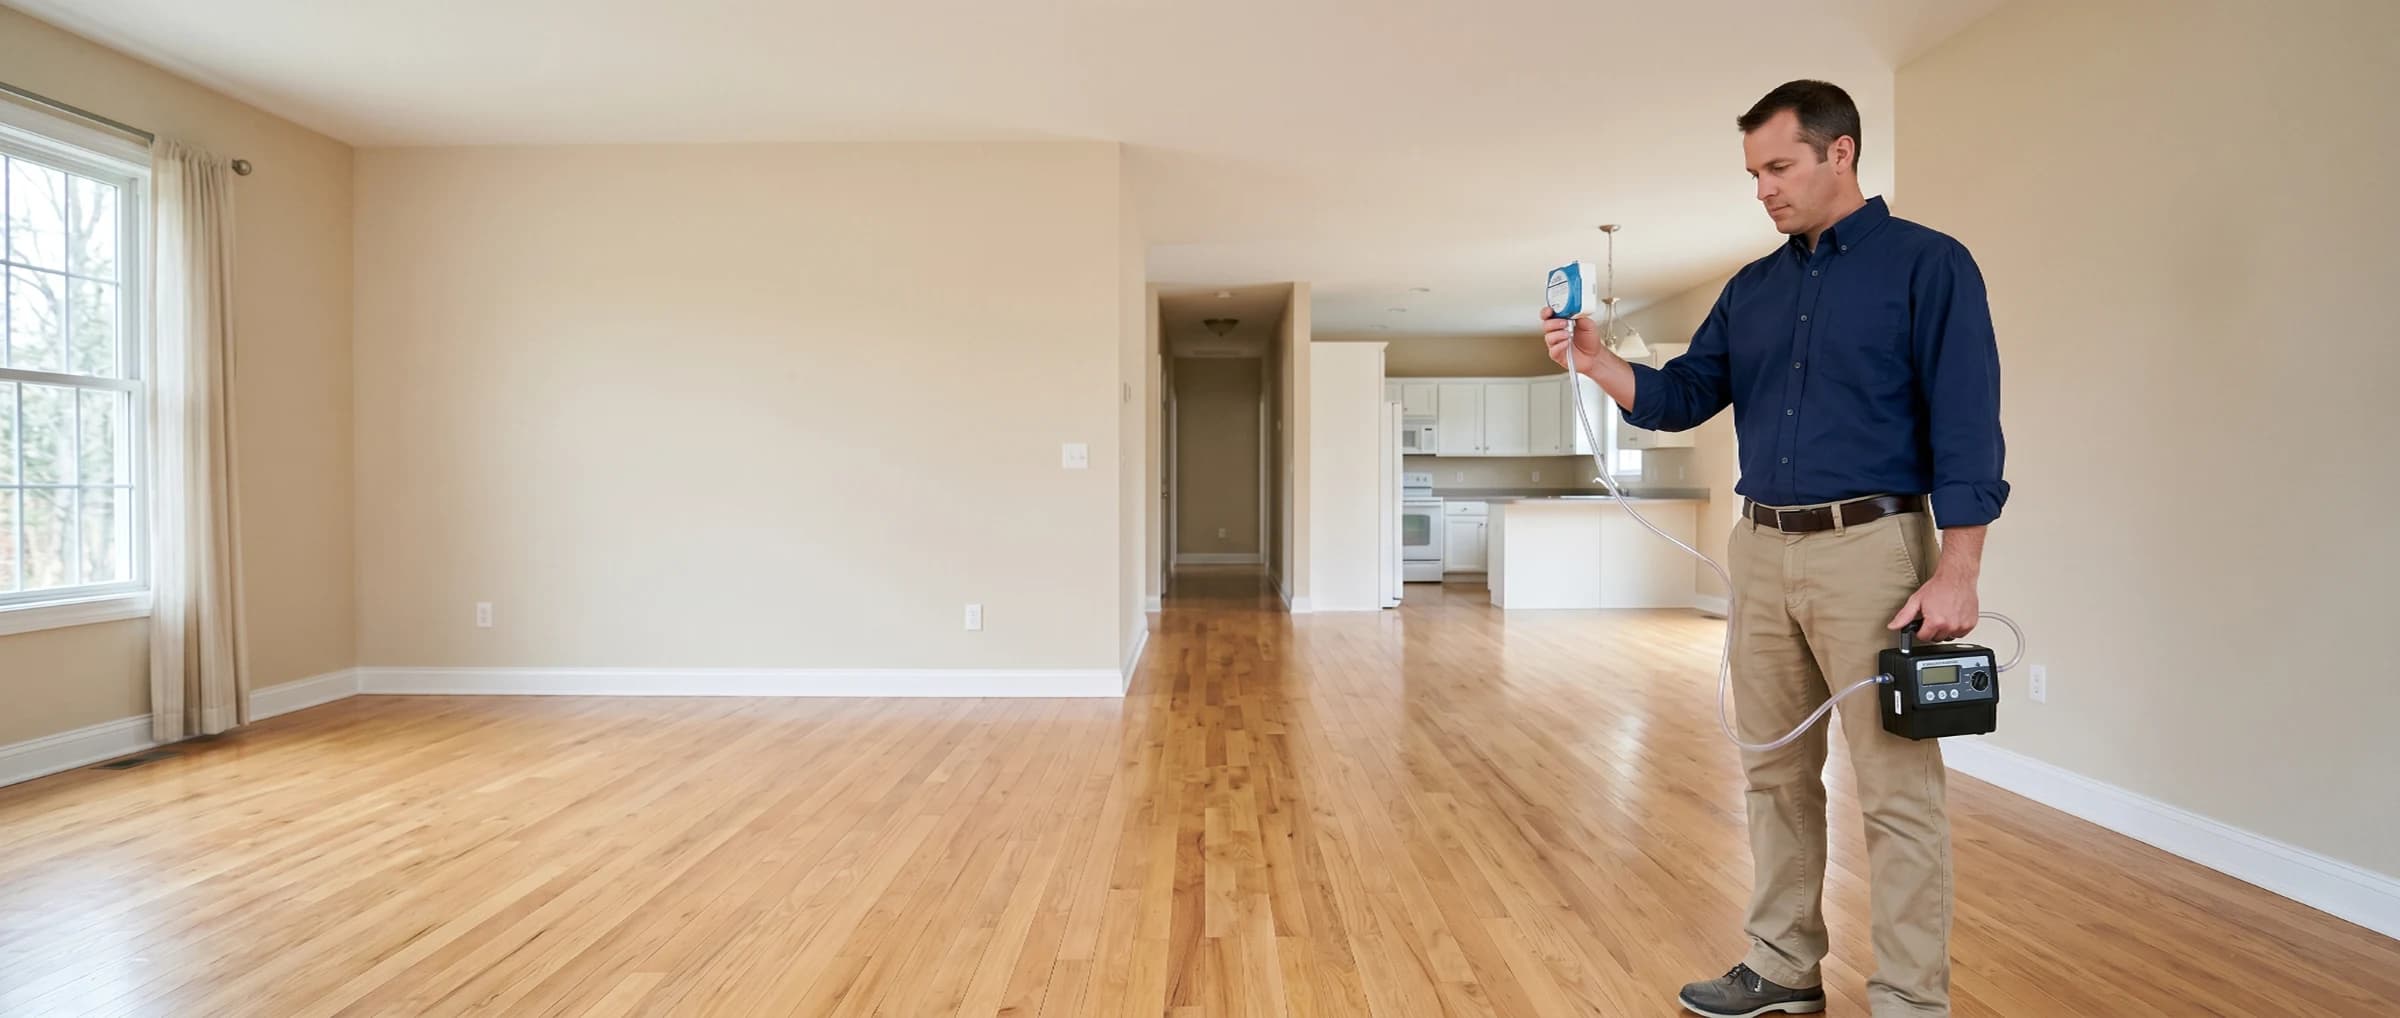
 A room that looks clean like this one can still fail on spore counts, which is exactly why visual inspection alone was never sufficient to close out the job.
Normal fungal ecology means the indoor environment contains mold species and concentrations consistent with a clean, unaffected building. Practically speaking, this means no visible mold growth, no elevated airborne spore counts relative to a clean reference area, and no residual moisture above the levels at which mold can sustain itself. PRV is the structured evaluation that confirms all three criteria are met, using equipment and laboratory analysis rather than visual observation alone.
How PRV differs from initial mold testing
Post-remediation verification and initial mold testing serve opposite purposes in the remediation sequence. Initial mold clearance testing is conducted before remediation begins to determine the extent of contamination, identify species present, and inform the scope of work. PRV is conducted after remediation is complete to verify that the work achieved its intended outcome.
The comparison also matters for who collects the samples and what reference points are used. Initial testing establishes a contaminated baseline. PRV compares the treated work area against a simultaneously collected clean reference area, looking for confirmation that spore counts and species composition in the remediated zone have converged with conditions in unaffected areas of the same building and outdoors. The two tests are complements, not substitutes.
The post-remediation verification process step by step
A properly conducted PRV follows seven steps in fixed sequence, and each must be completed before containment is removed or reconstruction begins. Skipping or reordering steps, particularly running air sampling before shutting down filtration equipment, produces unreliable results that can generate a false pass.
 A reading at 11.8% here clears the 16% IICRC S520 threshold comfortably; anything above that number means the drying phase wasn't finished and sampling shouldn't proceed yet.
Shutdown of air filtration equipment
All air scrubbers and negative air machines must be shut down at least 24 hours before sampling begins. Active air filtration artificially suppresses spore counts in the work area, which can generate a false pass result. The space needs to reach normal air exchange conditions representative of actual occupancy before sampling takes place.
Visual inspection
The independent assessor inspects all remediated surfaces for any remaining visible mold growth, moisture staining, construction debris, or material that should have been removed. Containment barriers are verified as still intact. If visible mold or wet materials are present at this stage, sampling does not proceed until those conditions are corrected.
Moisture assessment
A calibrated moisture meter is used on structural materials in the work area and adjacent zones. IICRC S520 sets the target at 16% wood moisture content or below for clearance. Readings above that threshold indicate the drying phase was insufficient, and sampling does not proceed until moisture levels meet the standard. NIOSH research on dampness and mold in buildings consistently identifies unresolved moisture as the leading driver of remediation failure and recurrence.
Air sample collection
Spore trap cassettes are used to collect simultaneous air samples from inside the work area, at least one unaffected indoor reference area, and outdoors. Using a calibrated pump, samples are collected under identical conditions and sent to an AIHA-accredited laboratory for direct microscopic analysis. AIHA accreditation ensures the lab follows consistent methodology for counting and identifying spores.
Surface sampling when indicated
Tape-lift or swab samples from cleaned structural surfaces may be collected in addition to air sampling. The AIHA's guidance on indoor mold describes surface sampling as the preferred method for verifying visible surface cleanliness when the primary concern is residual contamination on treated materials rather than airborne dispersal. Surface sampling is most commonly added when Stachybotrys chartarum was identified in the original scope, since this species produces heavy, non-airborne sedimentation that can remain on surfaces even after air counts normalize.
Laboratory analysis and report
Results are returned in 2–3 business days through standard processing or 24–48 hours on rush turnaround. The independent assessor interprets results, compares work area counts to reference samples, and issues a written clearance report either certifying that Condition 1 has been reached or specifying the failing criteria.
What a passing clearance looks like vs. what fails
A passing post-remediation clearance confirms five criteria per ANSI/IICRC S520: no visible mold growth, wood moisture at or below 16%, airborne spore counts in the work area at or below the clean reference area, species composition consistent with reference samples, and no residual mold on cleaned structural surfaces. If any criterion is not met, the result is a failed clearance and the contractor must return to re-remediate at no cost to the homeowner.
 A cassette placed here only means something in comparison; the same sample collected simultaneously outdoors and in an unaffected reference room is what actually determines pass or fail.
The most common clearance failure is elevated spore counts caused by incomplete physical removal, which means the table below reflects what the assessor's report will flag and what gives you grounds to send the contractor back.
| Clearance criterion | Passing result | Failing result | What it means |
|---|---|---|---|
| Visible mold growth | None present | Any visible mold | Physical removal was incomplete |
| Wood moisture content | 16% or below (IICRC S520) | Above 16% | Drying phase was insufficient |
| Work area spore count | At or below reference area | Elevated vs. reference | Contamination persists or spread |
| Species composition | Consistent with reference | Elevated indicator species | Remediation missed a source |
| Surface sampling (if taken) | No residual mold on cleaned surfaces | Mold present on treated surfaces | Surface cleaning was inadequate |
The most common reasons clearance fails are incomplete physical removal of contaminated materials, a containment barrier breach during active remediation that allowed cross-contamination into clean areas, persistent moisture above the threshold, HVAC re-entrainment of spores from untreated sections of the system, and inadequate surface cleaning that left spore deposits on overhead surfaces, door frames, or inside fixtures.
When clearance fails, the remediation contractor must return, identify the specific source of the failure, perform additional remediation, and submit to a new round of sampling. Under a properly written remediation contract, all costs associated with the additional work and re-testing are borne by the contractor. Professional mold remediation contracts from reputable companies explicitly include a clearance guarantee for this reason. If your contractor resists returning after a failed clearance, document the failed result in writing, reference your contract warranty, and if necessary contact your state's contractor licensing board.
When post-remediation verification is legally required
Florida and New York are the two states that legally mandate independent clearance testing. Florida requires it under Chapter 468 / DBPR licensing law, which prohibits a licensed Mold Remediator from performing clearance on their own project. New York mandates it under Article 32 of the Labor Law, which requires mold assessment and remediation to be performed by separate licensed entities on any project above 10 square feet.
In Florida, the DBPR license search at myfloridalicense.com lets you verify that the assessor and remediator hold separate active licenses before work begins. In New York, both the assessment and remediation contractors must each hold their own Article 32 license, with no exceptions for small jobs or owner-occupied properties. Homeowners who understand what to expect during mold remediation are better prepared to verify this separation before signing any contract.
Outside of Florida and New York, most states do not mandate clearance testing by statute, but the IICRC S520 standard requires it as part of any remediation project claiming to follow the standard. Since reputable contractors operate under S520, PRV is effectively standard on professional jobs regardless of whether state law requires it. A contractor who discourages PRV is a red flag about their overall approach to scope and quality control.
Post-remediation verification cost
Independent PRV costs $200–$600 for a standard residential project covering one or two remediated areas. The cost covers the on-site visit, sample collection, laboratory analysis, and the written clearance report. This fee is paid directly to the independent assessor and is entirely separate from the remediation contract.
 A conversation like this one is where sample count gets explained; a single room typically needs 3 to 5 samples, while Stachybotrys or HVAC involvement can push that closer to 15 or more.
Sample count drives most of the cost variation. A single remediated room requires roughly 3–5 samples: work area air, indoor reference, outdoor reference, and potentially one surface sample. Larger projects with multiple rooms, HVAC involvement, or Stachybotrys chartarum as the identified species require significantly more samples, which increases both the assessment time and the laboratory fee.
| Project scope | Typical PRV cost | Sample count | Timeline |
|---|---|---|---|
| Single room or small area | $200–$350 | 3–5 samples | 3–5 days total |
| Multi-room or large area | $350–$600 | 6–10 samples | 3–5 days total |
| Whole-home or large contamination | $500–$900 | 10–15 samples | 4–6 days total |
| Stachybotrys or HVAC involvement | $700–$1,200 | 12–18 samples | 4–6 days total |
| Rush turnaround (24–48 hr lab) | Add $75–$150 | Same as above | 2–3 days total |
Some insurance policies cover the cost of post-remediation verification as part of the restoration claim, particularly when the original remediation was covered. Your mold insurance coverage determines whether PRV is a reimbursable line item, so review your policy or contact your adjuster before paying out of pocket.
The mold remediation cost for the underlying project is typically $1,500–$6,000 for residential jobs, making PRV a small fraction of the total spend. Skipping it to save $200–$600 creates the risk of paying for a second full remediation if incomplete work is discovered later under worse conditions.
How to read your clearance report
A post-remediation clearance report contains six sections: project information, visual inspection findings, moisture readings, air sample results, surface sample results if applicable, and a clearance determination stating whether the space has been returned to Condition 1. It is the only objective documentation that remediation was successfully completed, and you should keep it permanently alongside your remediation contract.
 A report like this is worth keeping permanently, not just until the project closes; it's the document an insurance adjuster, a future buyer, or a warranty dispute will all eventually ask for.
Here is what each section covers.
Project information
This section identifies the property address, remediated areas, the date of sampling, the name and credentials of the assessor, and the laboratory that processed the samples. Verify that the assessor is independent from the remediator and that the laboratory carries AIHA accreditation.
Visual inspection findings
A written description of the visual inspection outcome, including any conditions observed before sampling began. A passing clearance will note no visible mold, no moisture damage, and no construction debris at the time of inspection.
Moisture readings
A table or summary of moisture meter readings taken at structural materials in the work area, with a comparison to the IICRC S520 threshold of 16% wood moisture content. Any reading above threshold will appear as a deficiency.
Air sample results
A table comparing spore counts and species from the work area sample against the indoor reference sample and the outdoor reference sample. The assessor's interpretation will note whether counts in the work area are within normal variation relative to the reference, and whether any indicator species appeared at elevated concentrations.
Surface sample results (if applicable)
Results of tape-lift or swab samples, reported as presence or absence of mold on treated surfaces and, where relevant, species identification.
Clearance determination
A clear statement that the remediated area has or has not been returned to Condition 1. If clearance is granted, the report includes a certificate that can be produced for your insurance carrier, a future buyer's due diligence, or contractor warranty purposes. If clearance is denied, the report specifies the failing criteria.
Store the full report, including the raw laboratory data, alongside your remediation contract, scope of work, and any insurance documentation. Ask the mold remediation company you hire upfront whether their project includes independent clearance testing coordinated through a licensed assessor, and verify that the assessor they name has no financial relationship with their company.
Signs that clearance testing should happen immediately
Request clearance testing immediately if you notice a musty odor after the contractor leaves, observe remaining staining in the treated zone, are asked to sign a completion certificate before independent testing, the remediation ran longer than the original scope without explanation, or the contractor suggests visual inspection alone is sufficient. Any of these conditions means the work may not be complete and you should not accept it until an independent assessor confirms otherwise.
If the contractor you hired does not raise clearance testing, ask directly and confirm the assessor they recommend has no financial relationship with their company. Projects where mold after water damage was the source may have a longer PRV timeline depending on how far the drying phase progressed before work began. Homeowners who go into remediation knowing the full sequence are better positioned to recognize when a step is being skipped and push for clearance before signing off.
Frequently asked questions
What is post-remediation verification?
Post-remediation verification (PRV) is an independent inspection and sampling process that confirms a mold remediation project achieved normal fungal ecology in the treated area. It is performed by a third party with no financial connection to the remediation company, following ANSI/IICRC S520 protocols for visual inspection, moisture assessment, and air and surface sampling analyzed by an AIHA-accredited laboratory.
Is clearance testing required after mold remediation?
Clearance testing is not universally required by federal law, but Florida and New York both mandate it through licensing statutes that require the assessor and remediator to be separate licensed entities. Even where not legally required, any remediation project conducted under IICRC S520 includes clearance testing as a standard final step. Understanding when mold remediation is required at a professional level helps you recognize contractors who are cutting scope rather than following standard practice.
Who should perform post-remediation verification?
PRV must be performed by an independent third party, an inspector or industrial hygienist with no financial connection to the remediation company. In states with licensing laws, the clearance must be conducted by a credentialed Mold Assessor or Mold Assessment Consultant. The credentials an independent mold inspector should carry are the same ones that apply to clearance work: ACAC's CIEC or CMC, or ABIH's CIH designation.
What does a passing clearance certificate document?
A clearance certificate documents the property address, remediated areas, sampling date, assessor credentials, laboratory name, and the specific finding that the space has been returned to Condition 1 per ANSI/IICRC S520. Insurance carriers, home buyers conducting due diligence, and contractor warranty claims all require this document. A verbal statement from the contractor that the work is done carries no legal or evidentiary weight.
What happens if a clearance test fails?
The remediation contractor must return to the work area, identify the source of residual contamination, perform additional remediation, and submit to a new round of clearance testing. Under a properly written contract, this is done at no additional cost to the homeowner. Clearance is not considered achieved until sampling confirms Condition 1. A reputable contractor's certifications and warranty terms should include an explicit clearance guarantee.
How long does post-remediation verification take?
On-site inspection and sample collection takes 1–2 hours. Laboratory analysis takes 2–3 business days on standard turnaround or 24–48 hours with rush processing. Expect the written clearance report within 3–5 days of the assessor's visit.
When should air scrubbers be turned off before clearance testing?
Air filtration devices and negative air machines should be shut down at least 24 hours before air sampling begins. Active filtration artificially lowers spore counts and can produce a false pass. Samples must be collected under conditions representative of normal occupancy per IICRC S520.
Do I need to keep the clearance report?
Yes. Keep the clearance certificate and the full lab report permanently. The document is required when filing an insurance claim, enforcing a contractor warranty, or disclosing mold history in a property transaction. It is the only objective proof that remediation was successfully completed.
Can a DIY test kit substitute for professional clearance testing?
No. Petri dish settle plates and consumer mail-in kits do not produce the simultaneous reference-sample comparison or the AIHA-accredited laboratory analysis needed to confirm Condition 1. They also cannot generate the written clearance certificate required for insurance claims, property transactions, or contractor warranty enforcement.
Sam Hickerson is the founder of RestoreAdvisor and writes consumer guides on mold remediation, water damage restoration, inspection, testing, and home recovery. His work focuses on helping homeowners understand costs, risks, and when to call a professional. He draws on guidance from the EPA, CDC, IICRC, and other authoritative sources to make complex home issues easier to navigate.