
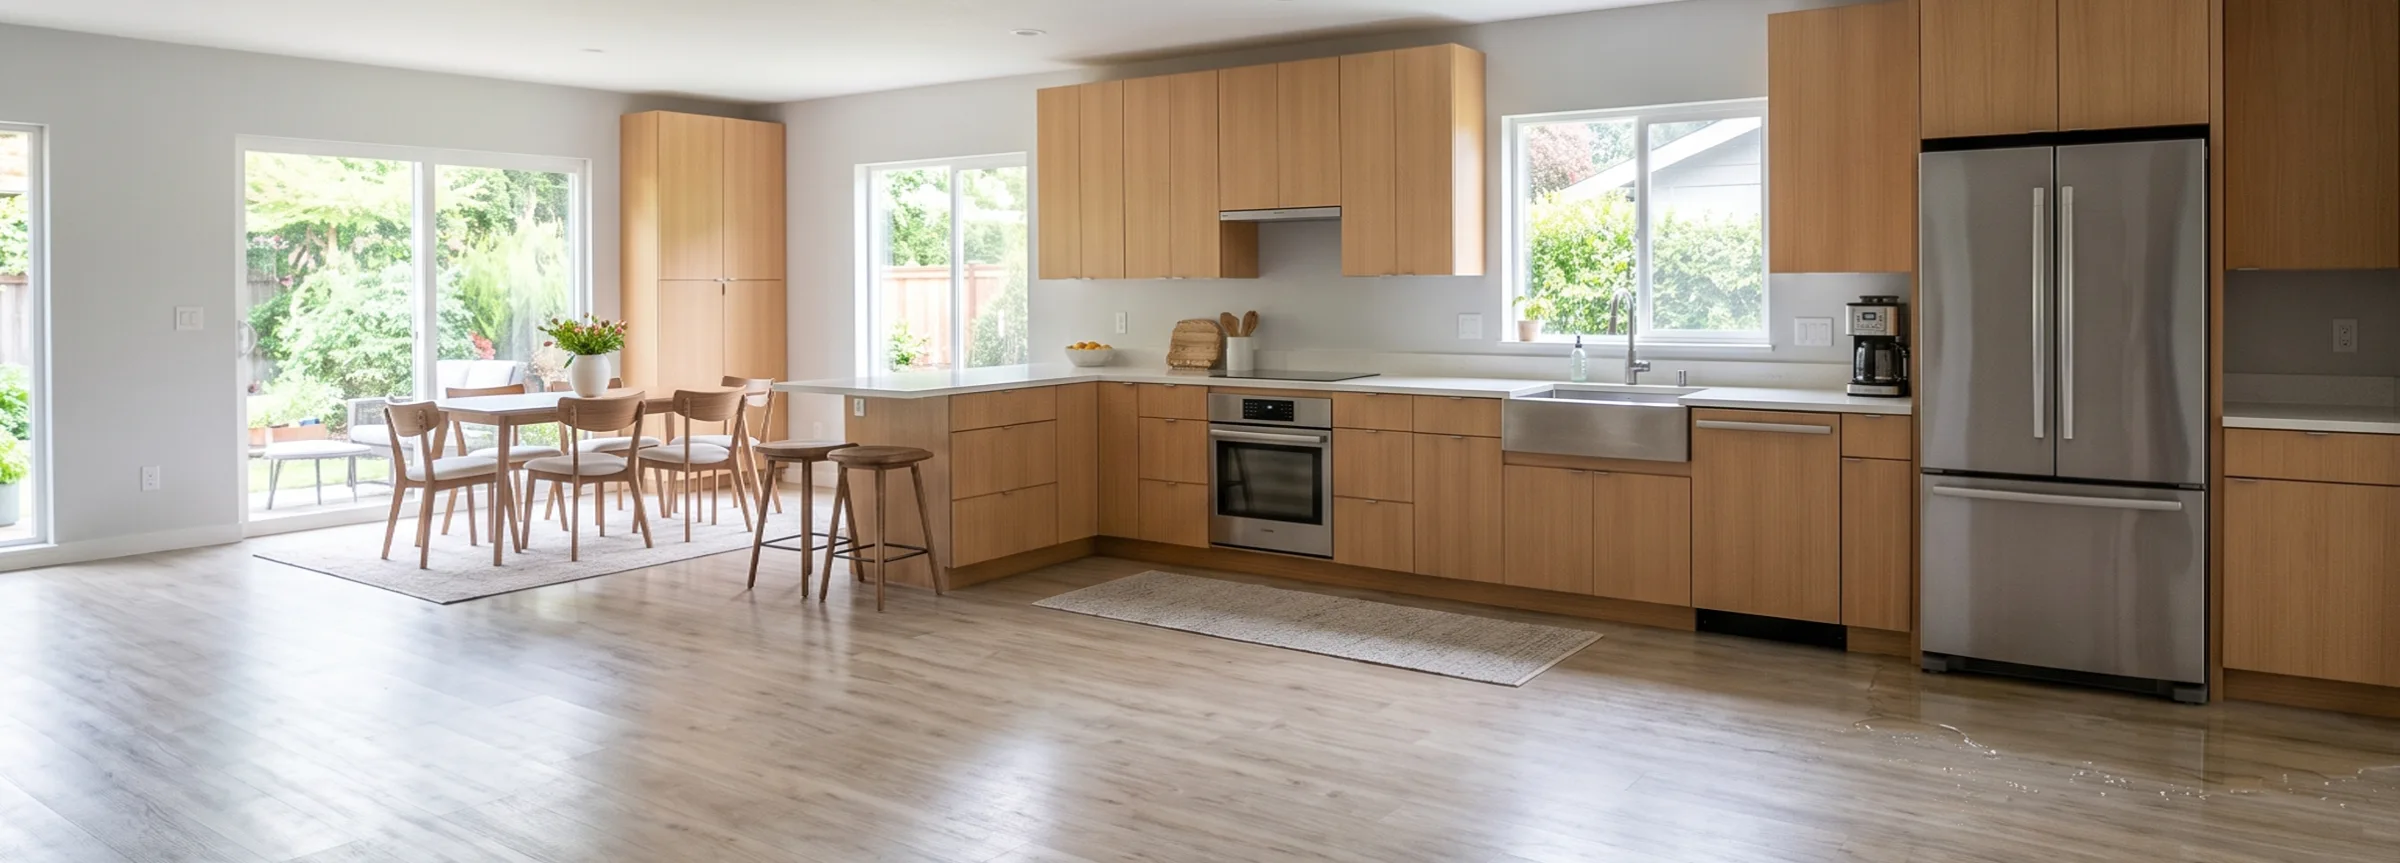

A puddle under the refrigerator is rarely as simple as it looks. The water could be coming from a supply line, a clogged drain, or a door that isn't sealing, and each source points to a different fix and a different amount of risk to the flooring underneath. Most refrigerator leaks are caught early enough to dry out with nothing more than a fan and a repaired fitting, and finding the actual source in the next few minutes is what decides which outcome you get.
Refrigerator water damage falls under the IICRC S500 standard, the same framework restoration professionals use to classify every water loss by contamination level and drying difficulty. Most refrigerator leaks start as clean, low-risk Category 1 water that only becomes a bigger problem if it goes unnoticed long enough to reach flooring, cabinetry, or the subfloor underneath.
Key insights
- Three sources cause most refrigerator leaks. The ice maker or dispenser water line, a clogged or frozen defrost drain, and a worn door gasket each produce a different leak pattern and a different fix.
- The shutoff valve stops the supply without powering down the fridge. Closing the valve under the sink or behind the unit halts a water line leak in seconds while the refrigerator keeps running.
- Most refrigerator leaks start as Category 1 clean water. Under IICRC S500, that classification can shift to Category 2 if water sits for more than 24 to 48 hours or picks up contaminants from a drain pan.
- Cleanup cost depends far more on response time than on the leak itself. A puddle caught the same day often costs a few hundred dollars to dry, while a slow leak that reached the subfloor can run into the thousands.
- Appliance repair and water damage cleanup are billed separately. A new water line or valve typically costs $100 to $400, distinct from any drying, flooring, or cabinetry work the leak caused.
- Homeowners insurance generally excludes the appliance but covers sudden water damage. A supply line that fails without warning is treated differently than a leak an insurer can trace to months of neglect.
What to do right now
Locating and closing the water shutoff valve stops most refrigerator leaks within seconds, before checking whether the water reached flooring or cabinetry. The valve is usually a small lever or knob under the kitchen sink or directly behind the refrigerator, feeding a thin line up to the unit.
 Unplugging directly at the outlet is safe once you've confirmed the cord and outlet are dry. If either is sitting in standing water, shut off power at the breaker panel instead.
Find and close the water shutoff valve
Most refrigerators with an ice maker or water dispenser connect to a shutoff valve under the kitchen sink or behind the unit itself. Closing it stops the supply immediately without requiring the fridge to be unplugged, which matters if you want to keep food cold while you sort out the rest.
Unplug the refrigerator only if it's safe to reach the outlet
If the outlet or cord is sitting in standing water, do not touch it. Shut off power to that circuit at the breaker panel instead, since contact with electrical equipment near standing water is a hazard OSHA warns against regardless of whether the source is a flood or a small kitchen appliance.
Move belongings and pull back nearby rugs or mats
Clear anything porous away from the wet area, including cardboard boxes, area rugs, and pet bedding, before the water spreads further under cabinets or baseboards.
Photograph the puddle, the flooring, and the back of the unit
Documentation before cleanup matters for an insurance claim later, especially images showing how far the water reached and any visible source, such as a wet fitting or a cracked line.
Extract standing water and start airflow
Use towels or a wet/dry vacuum for standing water, then run a fan or open a window to start drying while you decide whether the leak is DIY-safe or needs a professional.
For the fuller sequence beyond these five steps, including drying equipment and documentation for an insurance claim, a water damage restoration checklist covers the process in order rather than leaving you to guess what comes next. Having it open on a phone while working through the cleanup keeps a step from getting skipped in the moment.
Is it the water line, the ice maker, or condensation?
A refrigerator leak traces back to one of three distinct sources, and the puddle's location and pattern usually identify which one is responsible before you ever move the unit. Water line and ice maker failures produce the largest, fastest-spreading puddles, while condensation is the mildest and most self-limiting.
 A steady drip right at the fitting, rather than pooling under the unit, usually means the connection needs tightening or a new gasket rather than a full line replacement.
Confirming which source is responsible only takes a minute and doesn't require moving the refrigerator. Closing the shutoff valve and watching whether the puddle stops points to the water line or ice maker, checking for ice buildup at the base of the freezer narrows it to the defrost drain, and dry beads of moisture on the exterior door point to condensation rather than an active leak.
| Source | Typical volume | Where it appears | Urgency |
|---|---|---|---|
| Supply line or ice maker fitting | Moderate to heavy, continuous while pressurized | Behind or beneath the unit, spreading outward | High, close the shutoff valve immediately |
| Defrost drain or drain pan | Small to moderate, often intermittent | Inside the fridge floor or directly underneath the unit | Moderate, unplug and inspect the drain pan |
| Door gasket or condensation | Light, beads of moisture rather than a puddle | Around the door seal or on the exterior cabinet | Low, usually resolves once the seal is repaired |
The supply line and ice maker connections sit at the back of the unit and stay pressurized whenever the shutoff valve is open, so a cracked line or loose fitting keeps feeding water until someone closes the valve. A clogged or frozen defrost drain behaves differently: water backs up inside the freezer compartment and overflows the internal drain pan, which is why this source often shows up as water inside the fridge before it ever reaches the floor. Condensation is the least urgent of the three and typically appears as beads of moisture around the door gasket in humid weather, drying on its own once humidity drops.
Signs a refrigerator has been leaking longer than you think
Cupped flooring, a musty smell near the unit, and a swollen cabinet toe kick are the clearest signs a refrigerator leak has been active for longer than a day or two, since a fresh leak rarely produces any of them yet. Each sign is easy to dismiss on its own, but together they point to water that has already traveled beyond the visible puddle.
 A slight lift at the seams like this means the flooring has already absorbed more water than a surface wipe would suggest, since the boards swell from underneath before any staining shows on top.
Cupped or darkened flooring near the base of the unit
Laminate and hardwood both cup or darken along the seams closest to the refrigerator before damage becomes visible anywhere else, since that's the point closest to the source.
A musty smell that doesn't go away with cleaning
A persistent musty odor near the kitchen floor, distinct from normal food smells, is one of the more reliable early indicators that moisture has been present long enough for mold to begin developing behind or under the unit, per CDC guidance on mold growth conditions.
A swollen or soft toe kick on nearby cabinets
Cabinet bases made from particleboard swell visibly once they've absorbed water, and a toe kick that no longer sits flush against the floor is a sign the leak has been ongoing rather than a one-time event.
A water bill that has increased without an obvious reason
A continuous supply line leak, even a small one, adds up over a billing cycle. An unexplained increase alongside cupped flooring, a musty smell, or a swollen toe kick is worth investigating with a moisture meter rather than dismissing.
If you notice several of these signs at once, the same detection methods used to confirm signs of water damage from any cause apply here too, including a moisture meter reading and, for a suspected wall cavity leak, an infrared camera scan. Neither tool is something most homeowners own, which is usually the point where a professional inspection becomes worth the cost even if the leak itself turns out to be minor.
What to do if you discover the leak after being away from home
A refrigerator runs continuously, unlike a dishwasher or washing machine that only leaks while in use, so a leak here can spread for days or an entire trip before anyone notices it. That extended detection window is one reason a refrigerator leak often causes more damage than a similarly sized leak from an appliance someone uses and checks daily.
Coming home to a leak that has clearly been running for some time changes the response sequence slightly. Check the driest edges of the puddle first, since a dried outer ring around a still-wet center suggests the leak has been intermittent rather than continuous the entire time you were gone. Check the subfloor and cabinet bases with a flashlight and a bare hand before assuming the visible puddle is the full extent of it, since an extended leak has had time to travel well beyond what's immediately visible. Calling an emergency water damage restoration company directly is worth doing in this scenario rather than starting with DIY drying, since an unknown dwell time means an unknown amount of hidden moisture.
Where the water travels once it's behind the refrigerator
Water from a refrigerator leak travels along the path of least resistance rather than staying under the unit, which means the visible puddle is often smaller than the actual wet area. Kitchen flooring, cabinet bases, and the subfloor beneath all sit directly in that path.
 Particleboard toe kicks swell and darken faster than the cabinet face above them, since they sit closest to the floor where water spreads first.
A refrigerator also sits in the same spot for years at a time, rarely pulled out for cleaning or service the way a dishwasher or washing machine might be. That makes a slow leak behind the unit more likely to spread into the surrounding flooring, cabinetry, and subfloor before anyone notices it, rather than staying contained to the floor directly underneath.
| Location | What to check | Why it matters |
|---|---|---|
| Kitchen flooring | Cupping, buckling, or darkened grout lines near the unit | Laminate and hardwood absorb water fastest and show damage soonest |
| Cabinet toe kick | Swelling, soft spots, or a musty smell at the base of nearby cabinets | Particleboard cabinet bases wick water and swell within a day or two |
| Subfloor | Sponginess or give when pressed, visible from below if accessible | Plywood or OSB subfloor can delaminate before surface flooring shows any sign |
| Wall behind the unit | Staining, bubbling paint, or a cool, damp patch of drywall | A supply line leak against the wall can wick moisture into the cavity |
| Adjacent room or floor below | New stains, soft flooring, or a ceiling stain in a room below the kitchen | Water crosses under shared flooring or drips through a subfloor into a lower level |
Kitchen flooring is the first material at risk, and how quickly it shows damage depends on the material itself. Vinyl and tile resist water longer than laminate or hardwood, which can cup or buckle within a day of standing water. Cabinet bases made from particleboard are especially vulnerable since they wick moisture upward from the toe kick before the damage becomes visible on the cabinet face, and one that stays damp long enough can develop kitchen mold behind the toe kick, a separate cleanup step from the water damage itself. If the refrigerator sits against an exterior or shared wall, a supply line leak at the connection point can push water into the wall cavity itself, a location a homeowner cannot check without opening the drywall. On a second floor or over a finished basement, water that reaches the subfloor can travel far enough to stain a ceiling in the room below before anyone notices the original leak.
What causes a refrigerator to leak
A cracked supply line, a failed water inlet valve, and a clogged defrost drain cause the large majority of refrigerator leaks, with a worn door gasket or a cracked drain pan accounting for most of the rest. Identifying which one applies determines whether the fix is a simple part swap or something that needs a technician.
 A gasket that's lost its flexibility no longer compresses fully when the door closes, letting warm, humid air in and producing condensation that can drip rather than staying inside the compartment.
Cracked or kinked supply line
Plastic lines are more prone to cracking with age than braided stainless steel, especially if the line was pinched when the fridge was last moved.
Loose or corroded fitting
The connection points at the shutoff valve and at the back of the refrigerator can loosen over time or corrode where dissimilar metals meet.
Failed water inlet valve
The internal valve that controls flow to the ice maker can crack or fail to seat properly, allowing water through even when the ice maker isn't actively filling.
Clogged or frozen defrost drain
Debris or ice buildup blocks the drain tube, causing water to back up and overflow the internal drain pan instead of draining normally.
Cracked or misaligned drain pan
The pan beneath the unit that collects normal condensation can crack, warp, or sit off level, letting water reach the floor instead of evaporating as designed.
Worn or damaged door gasket
A gasket that no longer seals allows warm, humid air into the unit, producing condensation that can drip rather than staying inside the compartment.
Most of these causes share a common thread: they get worse gradually rather than failing all at once, which is why the earliest signs are often small and easy to dismiss. A hairline crack in a supply line or a slightly loose fitting can drip for weeks before it becomes the kind of leak that floods a kitchen floor. Age plays a role too. Plastic supply lines and rubber gaskets both degrade faster than the appliance itself, so a refrigerator well within its expected lifespan can still develop a leak purely from a worn part.
Age also narrows down which cause is most likely before you inspect anything. A refrigerator under five years old that develops a leak more often points to an installation issue or a manufacturing defect in the supply line, since parts that young rarely fail from ordinary wear. A unit eight to ten years old or beyond shifts the odds toward a worn door gasket, a corroded fitting, or a drain pan that has simply reached the end of its service life, the same components most likely to degrade on their own timeline regardless of how carefully the refrigerator is used.
DIY vs. calling a professional
Whether a refrigerator leak is safe to handle yourself comes down to how contained the water stayed and how quickly it was caught, not the size of the appliance or the cause itself. A leak fully contained under the unit with dry flooring underneath is a different situation than one that has already reached cabinetry.
 A mop handles water contained to a small area within the first hour or two. Once water reaches cabinetry or sits longer than that, moisture readings from professional equipment become the more reliable call.
Even a leak that qualifies as DIY-safe is worth running the refrigerator for a full day after the repair before considering the job finished. A fix that looks successful can still leave a slow drip at the same fitting, and catching that early is the difference between a five-minute repeat repair and a second round of drying.
| Factor | DIY-safe | Call a professional |
|---|---|---|
| Response time | Caught within hours, water still visible on the surface | Discovered after a day or more, or the fridge was recently moved back into place over the wet area |
| Water source | Supply line, fitting, or drain pan, clean Category 1 water | Unknown source, or water that has an odor suggesting it sat and stagnated |
| Materials affected | Hard, non-porous flooring like tile or sealed vinyl | Laminate, hardwood, carpet, or any cabinet base that absorbed water |
| Confirmed dryness | You can verify the subfloor is dry with a moisture meter reading under 15 percent | No way to check under flooring or behind cabinetry without specialized equipment |
A leak that meets all four DIY-safe criteria typically needs nothing more than towels, a fan, and a repaired fitting or line. Once water reaches a porous material or you can no longer confirm the area underneath is dry, a moisture meter and, often, a small air mover become necessary to prevent hidden dampness from becoming a mold problem days later. Confirming a company's IICRC certification before hiring is worth doing even for a job this size, since checking credentials takes a minute and protects against a rushed, undocumented repair.
Who to call: appliance repair, plumber, or restoration company
Which professional to call first depends on where the leak originated: an appliance repair technician for a part inside the refrigerator, a plumber for the supply line or shutoff valve, and a restoration company once water has already reached flooring, cabinetry, or a subfloor. Getting that first call right matters, since a technician who repairs the leak before the area is fully dry can end up reopening a wall or cabinet a second time once hidden moisture surfaces.
A plumber becomes the better call if the failure is at the shutoff valve or the supply line running through the wall or floor rather than the appliance itself, since that work falls outside most appliance technicians' license. A water damage restoration company enters the picture once water has reached flooring, cabinetry, or a subfloor, regardless of who fixes the appliance itself, since drying equipment and moisture verification are outside what either an appliance technician or a plumber typically carries. Get a scope of work in writing from whichever professional you call, since a verbal description of what's included is the most common source of disputes once a job wraps up.
Category and class: how a refrigerator leak is classified
A refrigerator leak is almost always Category 1 clean water at the moment it starts, since it comes from a treated household water supply rather than a contaminated source. Under IICRC S500, that classification is a snapshot of contamination level, not damage severity, and it can shift to Category 2 if the water sits long enough to pick up contaminants from a drain pan or aged supply line, or if the source is misidentified and turns out to be something other than clean water.
Class, the separate measurement of drying difficulty, stays low for most refrigerator leaks because the affected area is small and confined to hard-surface flooring near the unit. That changes if the leak went undetected for an extended period and porous materials like cabinet bases or carpet padding absorbed water, which can push a small kitchen leak into a higher class than its size would suggest. The same water damage categories system applies whether the source is a refrigerator, a burst pipe, or a roof leak, since IICRC S500 doesn't classify contamination differently based on what caused the loss.
What refrigerator leak cleanup and repair cost
Refrigerator leak cleanup typically costs $150 to $6,000, with the total driven almost entirely by how much material absorbed water before the leak was caught rather than by the leak's original cause. A same-day catch on hard flooring costs a fraction of what a multi-week undetected leak into a subfloor and adjacent room runs.
 How much material absorbed water before the leak was caught, not the appliance repair itself, is what usually pushes an estimate toward the higher end of the range.
Response time matters more for this cause than for most other appliance leaks, since a refrigerator is rarely inspected or pulled out the way a washing machine or dishwasher is during routine use. A leak that starts small behind the unit has more opportunity to go unnoticed for weeks, which is part of why the top of this range runs higher than a similarly sized leak from an appliance that gets serviced more regularly.
| Scenario | Typical cost |
|---|---|
| Caught same day, no material replacement needed | $150–$600 |
| Minor flooring damage, small section of vinyl or laminate | $500–$2,000 |
| Cabinet base and subfloor affected | $2,000–$6,000 |
| Multi-day undetected leak reaching an adjacent room | $6,000–$15,000 |
| Long-term undetected leak with structural or mold complications | $15,000–$30,000+ |
These figures cover water damage cleanup and material replacement, not the appliance repair itself. Fixing the actual source, whether that's a new supply line, water inlet valve, or drain pan, typically runs $100 to $400 in parts and labor. A restoration company's estimate will usually itemize the two separately, since one addresses the water damage and the other addresses the appliance, and paying for both from a single combined invoice is a red flag worth questioning.
Mitigation runs $3 to $7.50 per square foot as a broader water damage restoration cost figure across causes, a useful number to compare against a contractor's quote before agreeing to anything.
The water damage restoration cost per square foot rates sorted by material and category give a more precise comparison than the flat scenario table above, particularly for a job that doesn't cleanly match one of the five rows. Flooring type matters more than square footage alone in that comparison, since tile and vinyl dry in place while hardwood or laminate more often need replacement.
A leak caught after a four-day trip shows how the two costs stack in practice. Water had reached the cabinet toe kick and a small section of subfloor by the time it was found, placing the cleanup itself at $3,200, covering extraction, three days of drying equipment, and rebuilding the swollen toe kick panel. The failed water inlet valve that caused the leak added another $180 in parts and labor, billed separately by the appliance technician. The total came to $3,380, with the water damage accounting for the large majority of it even though the actual repair was a small, inexpensive part.
Repairing vs. replacing the refrigerator
A leak alone is rarely a reason to replace an otherwise functional refrigerator, since most causes, a cracked line, a worn gasket, a clogged drain, are inexpensive, standalone repairs. Replacement becomes the more reasonable option once the unit is already past 10 to 15 years old, roughly the end of a typical refrigerator's service life, since a second unrelated failure often follows within a year or two of the first.
The decision is worth checking against the unit's age and history rather than the leak alone. A repair in the $100 to $400 range makes sense on a refrigerator under eight years old with no other issues, while a compressor failure, a second leak from an unrelated cause, or rising energy bills from an aging door seal all tip the math toward replacement instead of another repair. Weigh that decision separately from what cleanup itself costs, since a new refrigerator doesn't undo any water damage that already reached the flooring or subfloor.
Does insurance cover a refrigerator leak?
Homeowners insurance typically covers the water damage from a refrigerator leak if the failure was sudden and accidental, such as a supply line that bursts without warning, under the same sudden-and-accidental standard most policies apply to any internal water loss. According to NAIC, standard homeowners policies cover the structure and built-in appliances but generally exclude the specific cause of gradual wear, which means the refrigerator itself is rarely covered even when the resulting flooring damage is.
The distinction insurers draw comes down to how long the leak had been happening before it was discovered. A line that fails suddenly after years of normal use reads as an accidental loss. A leak an adjuster can trace to a corroded fitting that had clearly been dripping for months looks more like deferred maintenance, and that framing can lead to a denied or reduced claim. Photographing the source and the damage before any cleanup begins, and keeping the receipt for whatever repair fixed the leak, both help establish that timeline if a claim becomes necessary. How much of a payout actually reaches you also depends on deductible size and documentation, the same factors that apply to homeowners insurance and water damage claims regardless of what caused the leak.
Renters face a different split. A refrigerator that came with the unit is typically the landlord's responsibility to repair and insure, while a tenant's own renters policy covers their personal belongings damaged by the leak, such as a rug or stored food. Reporting the leak to the landlord or property manager in writing as soon as it's found protects a tenant's position either way, since the timeline of when it was reported often matters as much as the timeline of when it started.
How to prevent a refrigerator leak
Replacing a plastic supply line with braided stainless steel and testing the shutoff valve once a year prevent more refrigerator leaks than any other single habit, since both address the two most common points of failure directly. Adding a water sensor near the unit and checking connections whenever the refrigerator is moved cover most of what's left.
 A battery-powered leak sensor triggers an alert within minutes of contact with water, catching a failure long before it reaches flooring or a cabinet base.
Replace plastic supply lines with braided stainless steel
Braided stainless steel lines resist cracking and kinking far longer than the plastic tubing many refrigerators ship with, and the upgrade typically costs less than a single service call.
Test the shutoff valve annually
A valve that has never been closed can seize over time, which turns a simple leak into an emergency the one time you actually need it to work. Closing and reopening it once a year keeps it functional.
Inspect the water filter connection at each replacement
Every time the water filter is swapped, check that it's seated correctly and that the housing isn't cracked, since a poorly seated filter is a common source of small, ongoing drips.
Check behind the unit after moving it
Moving a refrigerator for cleaning, flooring work, or a repair stresses the supply line at both ends. Inspect the connections afterward for kinks or looseness before pushing the unit back into place.
Place a water sensor near or under the unit
A battery-powered leak sensor costs relatively little and can alert you to water before it spreads far enough to reach flooring, particularly useful for a kitchen leak that would otherwise go unnoticed until someone walks through it.
These same habits fold into the broader water damage prevention routine recommended for every appliance in the home, not just the refrigerator, since a shutoff valve that's never tested is a risk no matter which fixture it feeds. An annual walkthrough of every appliance connection catches most leaks at the fitting-and-line stage rather than after they've reached the floor.
Frequently asked questions
Is a refrigerator leak always the water line?
No. The water line to the ice maker is the most common source, but a clogged defrost drain, a cracked drain pan, or a worn door gasket can all produce a puddle that looks identical at first glance. Tracing the water back to its actual source determines whether the fix is a five-minute valve shutoff or a full appliance repair. A dishwasher leak is also worth ruling out if the two appliances sit close together, since a puddle can spread far enough to make the actual source ambiguous at first glance.
Can a refrigerator leak cause mold?
Yes, if water sits against flooring, cabinet bases, or a subfloor for more than a day or two. The EPA notes that mold growth can begin within 24 to 48 hours of sustained moisture, so a leak that goes unnoticed over a weekend or during travel carries real mold risk even though the water itself started out clean.
How much does it cost to fix a leaking refrigerator?
Appliance repair alone, such as a new water line, water inlet valve, or door gasket, typically runs $100 to $400 in parts and labor. That figure is separate from water damage cleanup, which depends on how far the water spread and can range from a few hundred dollars for a same-day catch to several thousand for a leak that reached the subfloor.
Does homeowners insurance cover a refrigerator leak?
Usually yes, for the resulting water damage, if the leak was sudden and accidental, such as a burst supply line. Coverage typically excludes the refrigerator itself, and a slow leak an insurer can trace to months of neglect is more likely to be denied than one from a fitting that failed without warning.
How do I know if the leak has been going on for a while?
Warped or cupped flooring, a musty smell near the unit, a swollen toe kick on nearby cabinets, or a water bill that has crept up without an obvious reason all point to a leak that predates today. A moisture meter reading on the subfloor or cabinet base is the only way to confirm it rather than guess.
Should I keep using the refrigerator while it's leaking?
Not until the source is identified. If the water line or ice maker is the cause, close the shutoff valve and the refrigerator can keep running without water service. If the leak is from the drain pan or an unknown source inside the unit, unplug it and stop use until a technician can inspect it.
Can I fix a refrigerator water line leak myself?
Often yes, if the leak is limited to a loose fitting, a kinked line, or a cracked drain pan, all of which are inexpensive parts a homeowner comfortable with basic tools can replace. A leak from the internal water inlet valve or one that has already reached flooring or cabinetry is better handed to an appliance repair technician or restoration company.
What's the difference between condensation and an actual leak?
Condensation shows up as small beads of moisture around the door seal or on the exterior cabinet, especially in humid weather, and dries on its own within a day. An actual leak produces a puddle that returns even after wiping it up, usually underneath or behind the unit rather than on its exterior surfaces.
How long does it take for water to damage a subfloor?
Plywood and OSB subfloor can begin absorbing moisture within hours of contact, and swelling or delamination becomes visible after roughly 24 to 48 hours of sustained wetness. A slow leak that drips for weeks does more subfloor damage than a single spill that gets dried the same day, even if the total water volume is similar.
Who do I call first, an appliance repair tech or a restoration company?
Call the appliance technician first if the leak is minor and contained to under the unit, since fixing the source before drying prevents the same water from reappearing. Call a restoration company first if water has already reached flooring, cabinets, or an adjacent room, since drying needs to start before more materials absorb moisture.
Sam Hickerson is the founder of RestoreAdvisor and writes consumer guides on mold remediation, water damage restoration, inspection, testing, and home recovery. His work focuses on helping homeowners understand costs, risks, and when to call a professional. He draws on guidance from the EPA, CDC, IICRC, and other authoritative sources to make complex home issues easier to navigate.