
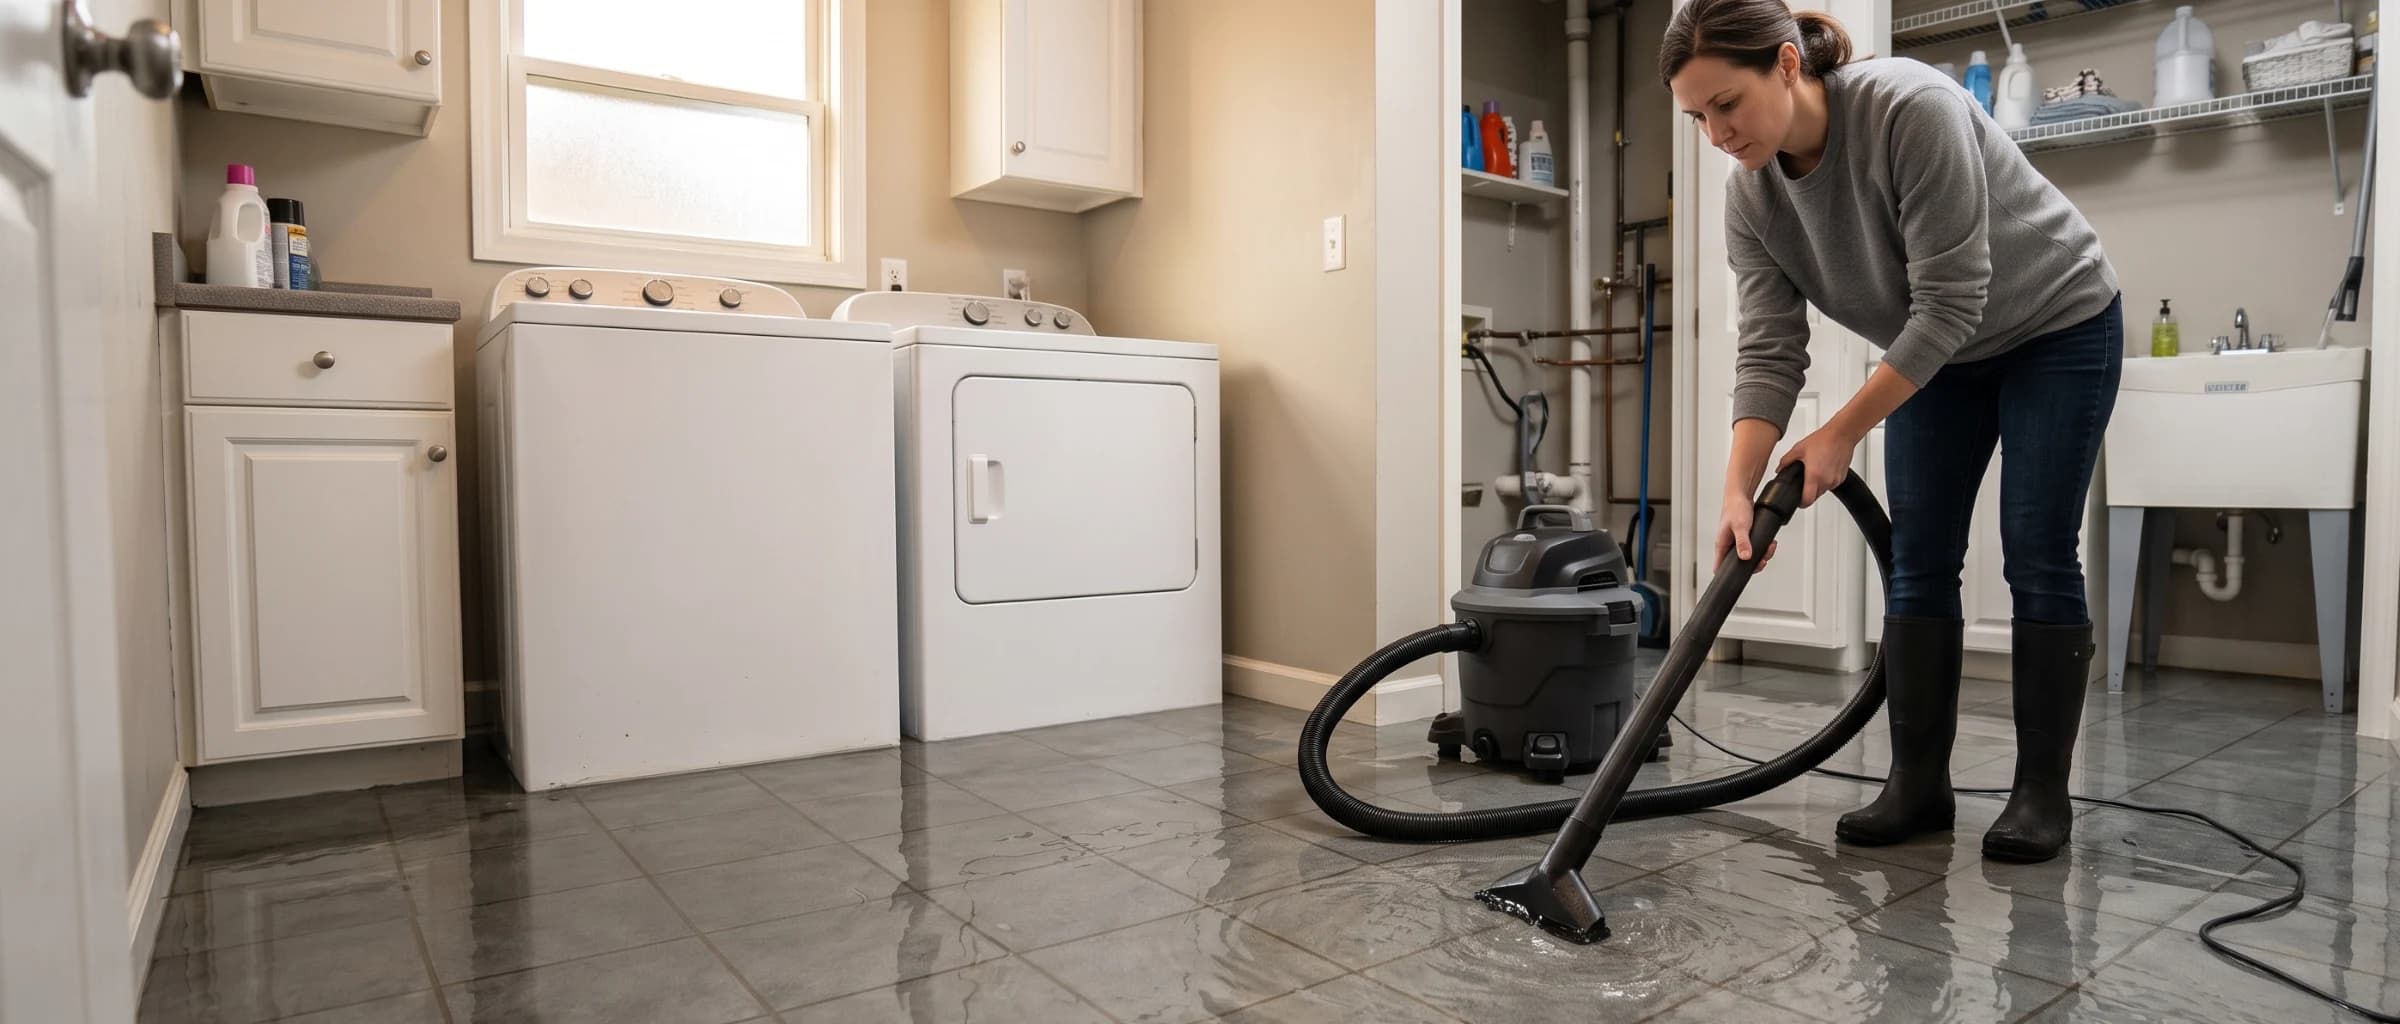

Water is sitting on the floor, and calling a restoration company today feels like more than the situation calls for. If the leak was clean, the area is small, and you caught it within the last day, cleaning it up yourself is often realistic. This walks through the safety checks, the equipment that actually dries a room, and the exact point where a DIY job stops making sense.
DIY water damage cleanup means removing standing water, drying the structure, and cleaning affected materials without hiring a licensed restoration company. It works within the same category and class framework set by the IICRC S500 standard that professional restorers use to scope a job. Category 1 clean water in a small, contained area is the range this applies to. Category 2 or 3 water, or damage that has already sat for more than a day or two, moves past what a homeowner can safely finish alone.
Key insights
- DIY-safe scope is narrow. Category 1 clean water affecting less than roughly 100 square feet, with no wet drywall more than a few inches up the wall, is the realistic upper limit for a homeowner to handle alone.
- The 24 to 48 hour window is the deadline, not a guideline. Saturated carpet padding, particleboard, and insulation need to come out inside that window or mold risk climbs sharply.
- Box fans and a small dehumidifier won't finish the job. A wet/dry vacuum, a commercial-grade air mover, and a dehumidifier sized to the room are the minimum equipment for drying to actually complete.
- Gray and black water are not DIY territory at any size. Water from a toilet, drain backup, or outdoor flooding carries contamination risk that standard homeowner cleaning can't fully address.
- Touch is not a dryness test. A surface can feel dry while the material underneath still holds enough moisture to grow mold, which is why a moisture meter reading matters more than how a wall feels.
- Photograph before you clean. Documentation taken before extraction begins protects an insurance claim even when every other step is handled yourself.
Is your water damage a DIY job?
A water damage situation qualifies as a DIY job when the water is Category 1 clean water, covers a small and contained area, and has been present for less than 24 to 48 hours with no sign of moisture traveling into a wall cavity or subfloor. Anything past that threshold, gray or black water, multiple rooms, or water that has already been sitting for a couple of days, moves the job into professional territory even when it still looks manageable on the surface.
 Category and how long the water has been sitting, not the size of a visible stain, are what actually determine whether a job stays within DIY-safe territory.
Source matters more than appearance here. A burst supply line or an overflowing sink is water damage categories Category 1 by definition, clean at the source, and it stays that way only if it's addressed quickly.
Size and duration are the other two variables. A quart of water from a dishwasher supply line caught within the hour is a different job than the same source left unnoticed over a weekend. Once water has soaked into carpet padding, particleboard, or drywall for more than a day, the material has usually absorbed more than a wet/dry vacuum and a fan can pull back out, and the decision shifts from "can I dry this" to "can I dry this before mold sets in."
The same volume of water from a sewer backup or storm flooding is Category 3 the moment it enters your home, regardless of how clear it looks, and it requires PPE and disposal handling that go beyond what OSHA's Bloodborne Pathogens Standard allows an untrained person to handle safely.
| Factor | DIY-safe range | Call a professional |
|---|---|---|
| Water category | Category 1, clean source | Category 2 or 3, any source |
| Affected area | Single room, under 100 sq ft | Multiple rooms or open floor plan spread |
| Time since exposure | Under 24 to 48 hours | Longer than 48 hours, or unknown |
| Materials affected | Hard flooring, minor carpet wicking | Drywall soaked above a few inches, insulation, subfloor |
| Household risk factors | Healthy adults only | Infants, elderly, pregnant, or immunocompromised occupants |
Safety precautions before you start
Cut power to any area with standing or recently standing water before you do anything else, since water and live wiring create an electrocution risk that isn't always visible. If the breaker panel itself is wet or you can't reach it safely, call your utility company to shut off power at the meter rather than approaching the panel.
Wear rubber boots and gloves for any water contact, even Category 1 water, since standing water picks up dirt and debris that isn't part of the original clean source. Structural hazards are worth checking for too, weakened flooring, sagging ceilings, and loosened fixtures, a point OSHA's flood response guidance raises as a reason to look over a space visually before walking through it rather than assuming it's stable because the water looks shallow. If you have any doubt about whether the water reached an outlet, a light fixture, or an appliance connection, treat that circuit as live until a professional or your utility confirms otherwise.
Tools and supplies for DIY water damage cleanup
DIY water damage cleanup needs four categories of equipment: a wet/dry vacuum for extraction, an air mover and dehumidifier for drying, an EPA-registered disinfectant for cleaning, and a moisture meter to confirm the job is actually done. Skipping any one of these, especially the moisture meter, is the most common reason a DIY job stalls out or fails to fully dry.
 IICRC S500 calls for roughly one LGR dehumidifier per 1,000 square feet of active water damage, a benchmark most single-unit box fan setups fall well short of.
The equipment scales with water damage classes too. A Class 1 spill affecting one section of flooring dries with a single air mover and a portable dehumidifier, while a Class 2 loss that's soaked into carpet across most of a room needs more than one air mover running for several days to move enough air across the wet surface.
| Category | Examples | Why it matters |
|---|---|---|
| Extraction | Wet/dry shop vacuum, sump pump for deep standing water | Removes bulk water before it soaks further into porous materials |
| Drying | Air mover, dehumidifier sized to room square footage | Household fans move air too slowly to dry a room before mold risk climbs |
| Cleaning | Antimicrobial spray, disinfecting cleaner rated for the surface | Reduces bacteria and mold spores left behind after extraction |
| Protection | Rubber gloves, boots, N-95 mask | Limits contact with debris, mold spores, and airborne particulates |
| Verification | Moisture meter | Confirms a surface is actually dry rather than just dry to the touch |
A moisture meter is worth buying rather than skipping, even for a one-time job, since it's the same type of verification tool listed among water damage restoration certifications training.
Sizing the equipment to the room avoids both under-drying and wasted rental cost. IICRC S500's restoration starting point is roughly one LGR dehumidifier per 1,000 square feet for active water damage, with air movers spaced about one per 10 to 16 feet of wet wall rather than a single fan pointed at the whole room.
Step-by-step DIY water damage cleanup process
DIY water damage cleanup follows six steps: stop the source, document the damage, extract standing water, remove unsalvageable materials, dry the structure, then clean and disinfect. This follows the same core sequence a professional water damage restoration process uses, scaled down to what a homeowner can complete with rented or store-bought equipment.
 A room that feels dry to the touch can still hold enough moisture in the subfloor to grow mold, which is why a moisture meter reading, not a touch test, marks the actual end of the drying step.
1. Stop the water source and cut the power
Shut off the water at the fixture or the main shutoff valve, and cut power to the affected circuit at the breaker before you step into standing water.
2. Document everything before you touch anything
Photograph and video the damage from several angles before extraction starts. This is the record your insurer will ask for, and it's much harder to recreate once the area has been cleaned.
3. Remove standing water
Extract standing water with a wet/dry vacuum, working from the deepest point of the room outward. For water more than an inch or two deep, a small submersible pump moves faster than a shop vacuum alone.
4. Remove unsalvageable materials
Pull out carpet padding, insulation, and any porous material that's been wet longer than 24 to 48 hours. These materials hold moisture in a way that surface drying can't reach, and leaving them in place is one of the most common reasons a DIY dry-out fails.
5. Dry the structure completely
Run air movers and a dehumidifier continuously, not just during the day, for a minimum of 3 to 5 days depending on how much material absorbed water. The EPA's flood cleanup guidance recommends increasing ventilation and running fans as long as it takes to fully dry the space, even after it looks dry.
6. Clean, disinfect, and monitor for mold
Clean and disinfect hard surfaces once the area is fully dry, using an EPA-registered disinfectant and leaving it on the surface for its full contact time, often several minutes, rather than wiping it off right away, since most products need that dwell time to actually kill bacteria and mold spores instead of just visually cleaning the surface. Check daily for musty odor, new staining, or discoloration over the following two weeks, since mold that starts after cleanup often shows up before it's visible, and an odor that lingers after a dry moisture meter reading usually means moisture is still trapped somewhere the reading didn't reach, not a cleaning miss.
Working the steps in order matters more than working them quickly. Starting the air movers before all standing water and saturated padding are removed is a common shortcut, since the room already looks like progress is happening, but drying equipment running against water that's still pooling or materials that are still saturated wastes days without moving the endpoint any closer.
What to keep, dry, or throw away
Whether a material can be dried in place or needs to be removed depends on how porous it is and how long it sat wet, not on how it looks after wiping it down. Hard, non-porous materials generally dry and clean fine. Soft, porous materials that absorb water into their fibers or structure usually don't, once the exposure passes the 24 to 48 hour mark.
 Carpet padding holds water the way a sponge does and almost never dries fully in place, which is why it gets pulled and discarded even when the carpet above it looks fine.
Carpet is the material people are most likely to try to save when it should go. Wall-to-wall carpet that was wet for less than a day can sometimes be lifted, dried underneath, and reinstalled, but the padding beneath it almost never survives contact with water and should be replaced regardless of how the carpet itself looks.
| Material | Salvage if | Discard if |
|---|---|---|
| Hardwood or tile flooring | Wiped dry within 24 hours, no visible cupping | Cupped, warped, or wet more than 48 hours |
| Wall-to-wall carpet | Wet less than 24 hours, no odor | Wet more than 24 hours or any sewage contact |
| Carpet padding | Almost never | Any water exposure at all |
| Drywall | Wicking under a few inches, dry within 24 hours | Wet above a few inches, soft, or bulging |
| Insulation | Almost never | Any water exposure, since it doesn't dry effectively in place |
| Particleboard or MDF furniture | Rarely | Any prolonged water contact, since it swells and doesn't return to shape |
Salvaging documents, photos, and electronics
Photographs and documents get frozen to stop bleeding and sticking, electronics get unplugged and left off until fully dry, and fabric gets laundered within 24 to 48 hours, three different responses for three different materials rather than one blanket method. What happens in the first few hours often decides whether paper items and electronics are recoverable at all, separate from the structural drying happening around them.
 Powering on a device before it's fully dry lets even trace residual moisture short the internal components, turning a salvageable laptop into a total loss.
Paper is the most time-sensitive category in the room. Photographs, documents, and books left wet for more than a day start to stick together and the ink or emulsion can bleed, while freezing halts that process immediately and buys time to clean and dry each item individually later instead of racing the clock.
| Item | Salvage approach | Discard if |
|---|---|---|
| Photographs and paper documents | Freeze in a resealable bag within a few hours to stop bleeding and sticking, then clean and air dry later | Already fused together or showing visible mold growth |
| Electronics and appliances | Unplug immediately, do not power on until fully dry and inspected | Internal components were submerged or show corrosion |
| Books | Freeze valuable copies, or fan the pages open and air dry with a fan nearby | Pages are fused or the binding has fully separated |
| Clothing and fabric items | Launder within 24 to 48 hours in hot water where the fabric allows | Wet more than 48 hours and already showing odor or discoloration |
Powering on a wet electronic device to check whether it still works is one of the more common instincts in the first hour, and it's also one of the fastest ways to turn a salvageable device into a total loss, since even a small amount of residual moisture can short internal components once current runs through them. A day or two of complete air drying before testing anything costs nothing and gives the device its only real chance at survival.
Common DIY cleanup mistakes that lead to mold
Most DIY water damage cleanup that turns into a mold problem fails for a small number of repeatable reasons, not bad luck. Each one below is a decision point where stopping too early or skipping a step feels harmless in the moment but leaves enough residual moisture for mold to take hold within the same 24 to 48 hour window cited earlier.
 A wall can look and feel completely dry within a day while a moisture meter still reads well above the 5 to 12 percent baseline for dry drywall, which is why touch alone can't confirm a room is actually finished drying.
Stopping the fans and dehumidifier too early
A room can feel dry to the touch within a day while the material underneath is still wet. Turning off drying equipment based on how the surface feels, rather than a moisture reading, is the single most common reason a DIY cleanup turns into a mold problem weeks later.
Leaving wet carpet padding in place
Padding holds water the way a sponge does, and drying a carpet without pulling the padding underneath leaves a moisture source sitting against the subfloor long after the visible surface looks fine.
Closing the room back up too soon
Sealing a door or reinstalling flooring before a moisture meter confirms a dry reading traps whatever residual moisture is left, and the CDC notes mold can begin developing on a damp surface within roughly two days of exposure, well before most homeowners would think to check again.
Skipping documentation until after cleanup
Cleaning first and photographing after leaves an insurer with no record of the original extent of damage, which can complicate a claim even when the loss itself was clearly covered.
Assuming a small stain means a small problem
Water travels along framing and subfloor further than the visible stain suggests, so a spot on the ceiling or a discolored baseboard is often just one of several signs of water damage worth checking for elsewhere in the room, not the full extent of the problem.
When to stop and call a professional
Some situations are outside what DIY water damage cleanup can safely or effectively handle, no matter how contained the damage looks at first glance. The signs below mean it's time to bring in a licensed company rather than continue on your own.
- Water came from a toilet, drain, or exterior flooding. This is Category 2 or 3 water regardless of how it appears, and it requires PPE and disposal handling beyond standard cleanup.
- The damage covers more than one room. Multi-room jobs typically exceed what consumer-grade drying equipment can dry within a safe timeframe.
- Water has been present longer than 24 to 48 hours. Mold risk climbs sharply past this window, and materials may have already absorbed more moisture than surface drying can reach.
- Drywall is wet more than a few inches above the floor line. This usually means water reached the wall cavity or insulation behind it, which can't be confirmed dry without opening the wall.
- A household member is very young, elderly, pregnant, or immunocompromised. Even a contained DIY job carries mold exposure risk that's worth avoiding for a vulnerable occupant.
- You can't confirm the structure is dry. Without a moisture meter reading against a dry baseline, closing the job out is a guess rather than a confirmation.
At that point, choosing a water damage restoration company matters more than acting fast with the first name you find, since a rushed hire can end up costing more than the delay of vetting properly. Redoing incomplete drying work later is almost always more expensive than doing it right the first time.
Cost of DIY cleanup vs. hiring a professional
DIY cleanup saves labor cost but not equipment cost, and the gap between the two narrows once you account for rental days and materials that get thrown away rather than reused. A wet/dry vacuum, a couple of air movers, and a few days of dehumidifier rental typically run a few hundred dollars, compared to a national average of water damage restoration cost in the low thousands for a comparable professional mitigation job.
 A few days of air mover and dehumidifier rental can approach what a professional mitigation crew charges for the same square footage, without the moisture verification a professional job includes.
Rental math assumes a single, contained job finished within the first rental period. Extend the timeline by even a day or two, which is common once materials need extra drying time, and rental fees alone can approach what a professional's flat mitigation rate would cost for the same square footage.
| Item | Typical DIY cost |
|---|---|
| Wet/dry vacuum (purchase) | $60–$150 |
| Air mover rental, per unit per day | $35–$60 |
| Dehumidifier rental, per day | $50–$90 |
| Antimicrobial spray and cleaning supplies | $20–$60 |
| Moisture meter (purchase) | $25–$75 |
The math changes quickly once a job needs more than a day or two of equipment rental, or once any material has to be replaced. A water damage restoration cost per square foot comparison is worth running before committing to a multi-day DIY rental, since three or four days of air mover and dehumidifier rental across a full room can approach what a professional mitigation crew would charge for the same square footage, without the moisture verification a professional job includes.
Documenting water damage for insurance
Documentation for a DIY claim works the same way it does for a professional job, and it needs to happen before cleanup starts, not after. Photograph and video every affected surface from multiple angles, note the date and suspected cause, and keep a sample of any material you discard, like a piece of cut-out carpet padding, until the claim is resolved. The same habit applies across the full water damage restoration checklist, not just a one-time DIY cleanup.
 Photos taken before extraction begins are the record an insurer will ask for, and they're far harder to recreate once the area has already been cleaned and dried.
Photograph before extraction begins
Wide shots of the room plus close-ups of specific damage give an adjuster the clearest picture of the original loss.
Keep receipts for equipment and supplies
Rental receipts and supply purchases are sometimes reimbursable under a policy's protective measures provision, so hold onto them even if you're not certain they'll be covered.
Note the timeline in writing
Write down when the water started, when you noticed it, and when each cleanup step happened, since an adjuster may ask for this later and memory fades faster than you'd expect.
Coverage itself depends on the cause, and it's worth confirming before you assume a DIY cleanup means the loss wasn't serious enough to claim. Whether homeowners insurance covers water damage comes down to which causes are covered and which are excluded, since a sudden pipe burst and a slow, undetected leak are treated very differently even when the cleanup looks identical.
Frequently asked questions
Can I clean up water damage myself?
Yes, but only within a specific scope: Category 1 clean water, a small area, caught quickly. Past that scope, contaminated water, multiple rooms, or water that's already sat a day or two, a professional's commercial equipment and moisture verification become the deciding advantage over what a homeowner can do with rented tools. The full water damage restoration process a company runs is built around exactly that gap.
How long can water sit before mold becomes a real risk?
Mold risk begins within 24 to 48 hours of water contacting a porous surface, per EPA and CDC guidance. That window applies to the first exposure, not to when someone notices the water, so damage discovered on day two should already be treated as being at the edge of that timeline. It's also part of why water damage restoration takes several days even on a professional job, since drying has to outrun that window rather than just catch up to it.
What equipment do I actually need for DIY water damage cleanup?
A wet/dry vacuum for extraction, at least one commercial-grade air mover, and a dehumidifier sized to the room are the minimum. Household box fans and a small bathroom dehumidifier move air and pull moisture too slowly to dry a wet room before mold becomes a factor.
Is it safe to DIY clean up sewage or gray water?
No. Category 2 and Category 3 water require PPE, containment, and disposal handling that go beyond standard homeowner cleanup. Treat any water from a toilet, drain backup, or exterior flooding as a job for a professional regardless of how small the affected area looks, and use these questions to ask a water damage restoration company before you hire one.
How do I know if a wall or floor is actually dry?
A moisture meter reading is the only reliable confirmation. Surfaces can feel dry to the touch while the material underneath still holds enough moisture to grow mold, which is why professionals verify with a meter reading against a dry baseline rather than a visual or touch check.
Can I dry out drywall without removing it?
Sometimes, if water wicked only a few inches up the drywall and the exposure was under 24 hours. Anything higher than that, or any drywall that was submerged or wet longer than a day, should be cut out rather than dried in place, since trapped moisture behind an intact wall is difficult to confirm without opening it.
Will insurance still pay a claim if I clean up the damage myself?
Often yes, provided the damage itself is covered and you document it before starting. Insurers generally don't require a professional to have performed the mitigation, but they do expect photos, moisture readings if you have them, and a clear record of when the damage occurred and what you did about it.
What's the biggest mistake people make with DIY water damage cleanup?
Stopping the drying process too early. A room can look and feel dry within a day while the subfloor or wall cavity is still holding moisture, and closing everything back up at that point is what turns a clean water spill into a mold problem weeks later.
Sam Hickerson is the founder of RestoreAdvisor and writes consumer guides on mold remediation, water damage restoration, inspection, testing, and home recovery. His work focuses on helping homeowners understand costs, risks, and when to call a professional. He draws on guidance from the EPA, CDC, IICRC, and other authoritative sources to make complex home issues easier to navigate.